
原神6.4下半卡池抽卡攻略:絲柯克與愛可菲抽取建議
 黄允之
黄允之


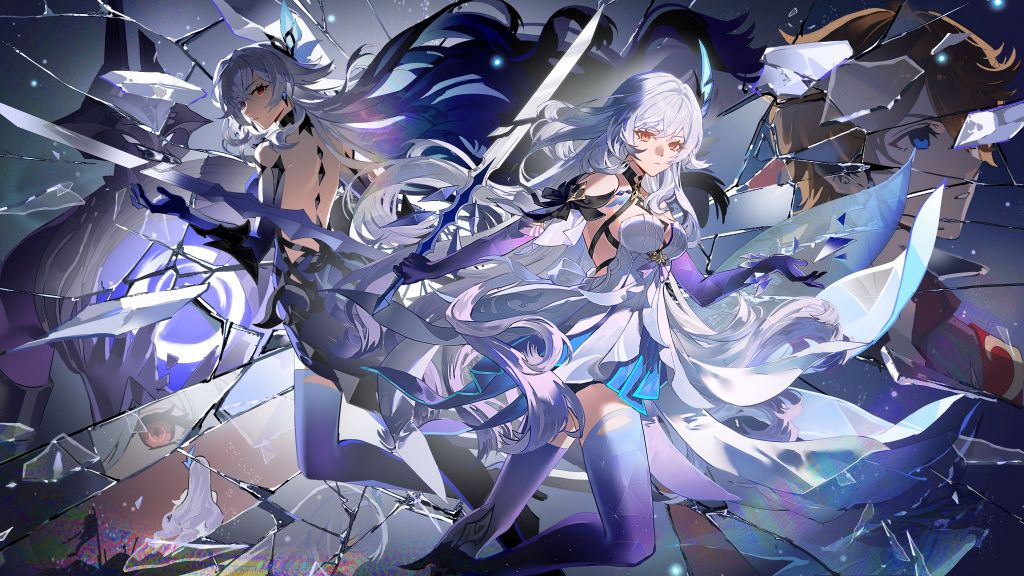
《原神》6.4版本下半卡池將於 3月17日 正式上線。本次復刻的兩位五星角色——絲柯克 與 愛可菲,依舊是目前版本冰水體系的核心戰力,也是許多玩家最糾結是否要抽的角色。
無論你是想組建強力的 冰水戰艦隊伍,還是補強冰系隊伍配置,這篇攻略將從 角色定位、強度解析、隊伍搭配思路與抽卡優先級 四個角度,幫你理清抽卡方向,避免浪費原石,精準規劃卡池資源。
一、角色解析:相輔相成但也能獨立運作
絲柯克與愛可菲並不是完全綁定的角色。
兩人搭配確實可以達到 1+1>2 的效果,但單獨抽取時也各有適用場景。先了解兩位角色的核心價值,才能判斷是否符合自己的隊伍需求。

1. 絲柯克:冰系站場主C,高壓環境的強勢輸出
絲柯克定位為 五星冰系單手劍主C,突破屬性為 暴擊傷害。她最大的優勢在於 高數值輸出與零能量啟動機制,不依賴充能即可快速開始輸出循環,特別適合 幽境危戰等高壓、冷啟動環境。
她的主要輸出模式分為兩種:
短E → 普攻循環:穩定持續輸出
長E → 大招爆發:短時間高爆發傷害
天賦機制使她在 水系與冰系隊友加持下 能獲得多層傷害增益,形成 獨立乘區加成,輸出上限非常高。
強度亮點
0命機制完整:無需高命之座即可發揮完整強度
冰水隊核心主C:深境螺旋與危戰環境都能穩定輸出
命之座提升清晰
1命:新增範圍冰傷與弱冰附著,優化輸出循環
2命:大幅提升攻擊與爆發傷害(性價比最高)
6命:解鎖額外協同輸出,整體強度質變
短板提醒
高度依賴冰水隊友,尤其是愛可菲
生存能力一般,高壓環境建議搭配盾或奶
武器依賴度偏高
專武 「蒼耀」 能最大化輸出;沒有專武時可用 霧切之回光、磐岩結綠 等替代,但傷害會有一定差距。

2. 愛可菲:冰水隊萬用輔助,輸出減抗治療三合一
愛可菲定位為 五星冰系長槍副C兼輔助,突破屬性為 暴擊率。她幾乎可以說是 冰水隊的萬用拼圖角色。
核心價值在於 三大功能合一:
後台持續輸出
群體減抗
全隊治療
她的 元素戰技 可召喚料理機關,持續造成後台冰傷;
元素爆發 可瞬間回血並持續治療前台角色,與 芙寧娜燒血增傷機制 完美契合。
在 4名水/冰角色的隊伍中,她的天賦可以 降低敵人55%水抗與冰抗,直接大幅提升整隊輸出。
強度亮點
0命即完全體
適配所有冰系主C
可搭配多種主流隊伍
例如:
絲柯克
神里綾華
那維萊特
萊歐斯利
命之座價值
1命:提供全隊高額冰系暴傷(性價比最高)
4命:強化治療與回能
6命:新增額外後台傷害
平民玩家 0命即可完整體驗角色功能。
短板提醒
在 非冰水隊伍 中減抗效果會明顯下降
專武雖強,但 替代武器選擇很多,不必特意抽武器池
二、隊伍搭配思路:冰水戰艦為核心
本次卡池最大的價值,在於 冰水體系的完整成型。
絲柯克與愛可菲搭配 芙寧娜 等角色,可以組成目前版本非常強勢的 冰水戰艦隊伍。同時也有不少 平民替代配置。
以下是最實用的三套隊伍:
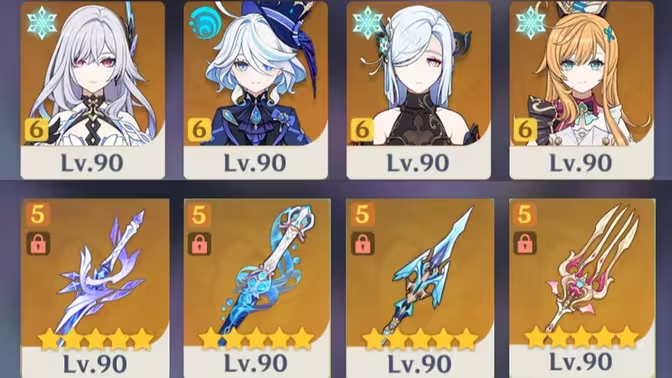
1. 頂配冰水戰艦(版本強度天花板)
隊伍配置:
絲柯克 + 愛可菲 + 芙寧娜 + 申鶴
隊伍優勢:
愛可菲:55%水冰減抗 + 後台輸出 + 治療
芙寧娜:全隊增傷 + 血量循環
申鶴:高額冰傷增益
絲柯克:站場核心輸出
這套陣容同時具備:
增傷
減抗
生存
爆發
不論是 深境螺旋滿星 或 高難危戰關卡 都能輕鬆應對。
2. 泛用冰隊(沒有絲柯克也能玩)
隊伍配置:
神里綾華 / 萊歐斯利 + 愛可菲 + 芙寧娜 + 夏洛蒂
如果只抽 愛可菲,依然可以大幅提升冰隊強度。
角色分工:
主C:神里綾華 / 萊歐斯利
愛可菲:減抗 + 後台輸出
芙寧娜:全隊增傷
夏洛蒂:掛冰 + 補充治療
這套隊伍幾乎適配 所有冰系主C。
三、抽卡建議
1. 建議抽卡的玩家
想組冰水戰艦的玩家
如果你 缺冰系站場主C,建議直接抽:
絲柯克 + 愛可菲 0+0
這套配置強度可以一路使用到 冰神版本之前,深境螺旋與危戰都能輕鬆通關。
已有冰系主C的玩家
例如:
神里綾華
甘雨
萊歐斯利
建議 優先抽愛可菲。
她的 減抗 + 治療 + 後台輸出 能讓冰隊傷害大幅提升,是目前 最核心的冰隊輔助角色之一。
已有芙寧娜的玩家
愛可菲 + 芙寧娜 是目前非常強勢的組合。
幾乎所有 冰/水主C 都可以加入這套核心架構。
XP黨 / 角色廚
如果你喜歡 絲柯克或愛可菲的人設與劇情:
抽 0命即可完整體驗角色機制,不需要強求高命之座。
2. 不建議抽卡的玩家
完全不玩冰隊的玩家
如果你沒有冰系角色,也 沒有打算組冰水隊,那麼這個卡池的價值會大幅下降。
建議保留原石等待其他體系角色。
原石緊張的平民玩家
如果你已經擁有完整強勢隊伍,例如:
草神體系
雷國隊
並且能穩定 深淵滿星,那麼可以 等未來復刻再考慮。
武器池建議 謹慎嘗試,避免原石消耗過多。
總結
《原神》6.4下半卡池對 冰水體系玩家來說是福利池。
絲柯克 + 愛可菲 可以組建目前版本非常強勢的 冰水戰艦隊伍,無論是強度還是未來保值度都非常高。
抽卡邏輯其實很簡單:
優先抽愛可菲 → 再考慮絲柯克
平民玩家 0命即可體驗核心強度,不需要盲目追求高命之座或專武。
祝各位旅行者都能順利抽到自己喜歡的角色,組建屬於自己的冰水隊伍,輕鬆拿下 深境螺旋滿星與危戰高獎勵。
關注我,後續也將為你帶來更多原神相關資訊與遊戲攻略!
若想獲得你心儀的角色,請選擇 keygold.gg,讓你以更優惠的價格獲得原石!


- 創世結晶全檔位全集$160.8-$40.14$200.94
- 空月祝福$3.82-$1.17$4.99
- 60 創世結晶$0.77-$0.23$0.99
- 300+30 創世結晶$3.6-$1.39$4.99
- 980+110 創世結晶$10.83-$4.16$14.99
- 1980+260 創世結晶$21.67-$8.32$29.99
- 3280+600 創世結晶$36.12-$13.87$49.99
- 6480+1600 創世結晶$74.99-$25$99.99
- 6480+1600 創世結晶*3$244.97-$55$299.97
- 6480+1600 創世結晶*5$414.96-$84.99$499.95
- 6480+1600 創世結晶*10$839.92-$159.98$999.9