";inherits:false;initial-value:#0000}@property --tw-gradient-via{syntax:"";inherits:false;initial-value:#0000}@property --tw-gradient-to{syntax:"";inherits:false;initial-value:#0000}@property --tw-gradient-stops{syntax:"*";inherits:false}@property --tw-gradient-via-stops{syntax:"*";inherits:false}@property --tw-gradient-from-position{syntax:"";inherits:false;initial-value:0}@property --tw-gradient-via-position{syntax:"";inherits:false;initial-value:50%}@property --tw-gradient-to-position{syntax:"";inherits:false;initial-value:100%}@property --tw-leading{syntax:"*";inherits:false}@property --tw-font-weight{syntax:"*";inherits:false}@property --tw-shadow{syntax:"*";inherits:false;initial-value:0 0 #0000}@property --tw-shadow-color{syntax:"*";inherits:false}@property --tw-shadow-alpha{syntax:"";inherits:false;initial-value:100%}@property --tw-inset-shadow{syntax:"*";inherits:false;initial-value:0 0 #0000}@property --tw-inset-shadow-color{syntax:"*";inherits:false}@property --tw-inset-shadow-alpha{syntax:"";inherits:false;initial-value:100%}@property --tw-ring-color{syntax:"*";inherits:false}@property --tw-ring-shadow{syntax:"*";inherits:false;initial-value:0 0 #0000}@property --tw-inset-ring-color{syntax:"*";inherits:false}@property --tw-inset-ring-shadow{syntax:"*";inherits:false;initial-value:0 0 #0000}@property --tw-ring-inset{syntax:"*";inherits:false}@property --tw-ring-offset-width{syntax:"";inherits:false;initial-value:0}@property --tw-ring-offset-color{syntax:"*";inherits:false;initial-value:#fff}@property --tw-ring-offset-shadow{syntax:"*";inherits:false;initial-value:0 0 #0000}@property --tw-outline-style{syntax:"*";inherits:false;initial-value:solid}@property --tw-blur{syntax:"*";inherits:false}@property --tw-brightness{syntax:"*";inherits:false}@property --tw-contrast{syntax:"*";inherits:false}@property --tw-grayscale{syntax:"*";inherits:false}@property --tw-hue-rotate{syntax:"*";inherits:false}@property --tw-invert{syntax:"*";inherits:false}@property --tw-opacity{syntax:"*";inherits:false}@property --tw-saturate{syntax:"*";inherits:false}@property --tw-sepia{syntax:"*";inherits:false}@property --tw-drop-shadow{syntax:"*";inherits:false}@property --tw-drop-shadow-color{syntax:"*";inherits:false}@property --tw-drop-shadow-alpha{syntax:"";inherits:false;initial-value:100%}@property --tw-drop-shadow-size{syntax:"*";inherits:false}@property --tw-backdrop-blur{syntax:"*";inherits:false}@property --tw-backdrop-brightness{syntax:"*";inherits:false}@property --tw-backdrop-contrast{syntax:"*";inherits:false}@property --tw-backdrop-grayscale{syntax:"*";inherits:false}@property --tw-backdrop-hue-rotate{syntax:"*";inherits:false}@property --tw-backdrop-invert{syntax:"*";inherits:false}@property --tw-backdrop-opacity{syntax:"*";inherits:false}@property --tw-backdrop-saturate{syntax:"*";inherits:false}@property --tw-backdrop-sepia{syntax:"*";inherits:false}@property --tw-duration{syntax:"*";inherits:false}@property --tw-ease{syntax:"*";inherits:false}@property --tw-scale-x{syntax:"*";inherits:false;initial-value:1}@property --tw-scale-y{syntax:"*";inherits:false;initial-value:1}@property --tw-scale-z{syntax:"*";inherits:false;initial-value:1}@keyframes pulse{50%{opacity:.5}}
中文繁體
登入 / 註冊
keygold invite coupon新註冊用戶專享註冊領取優惠券
keygold home主站keygold arrow-right網誌keygold arrow-right崩鐵4.0:爻光+火花綜合測評|歡愉體系機制全解析
keygold search

崩鐵4.0:爻光+火花綜合測評|歡愉體系機制全解析

keygold blog author吴拾安
2026/02/12
keygold facebook sharekeygold reddit sharekeygold twitter sharekeygold whatsapp share
keygold link

一、核心機制:歡愉體系怎麼玩?

微信图片_20260212141616_610_12.png

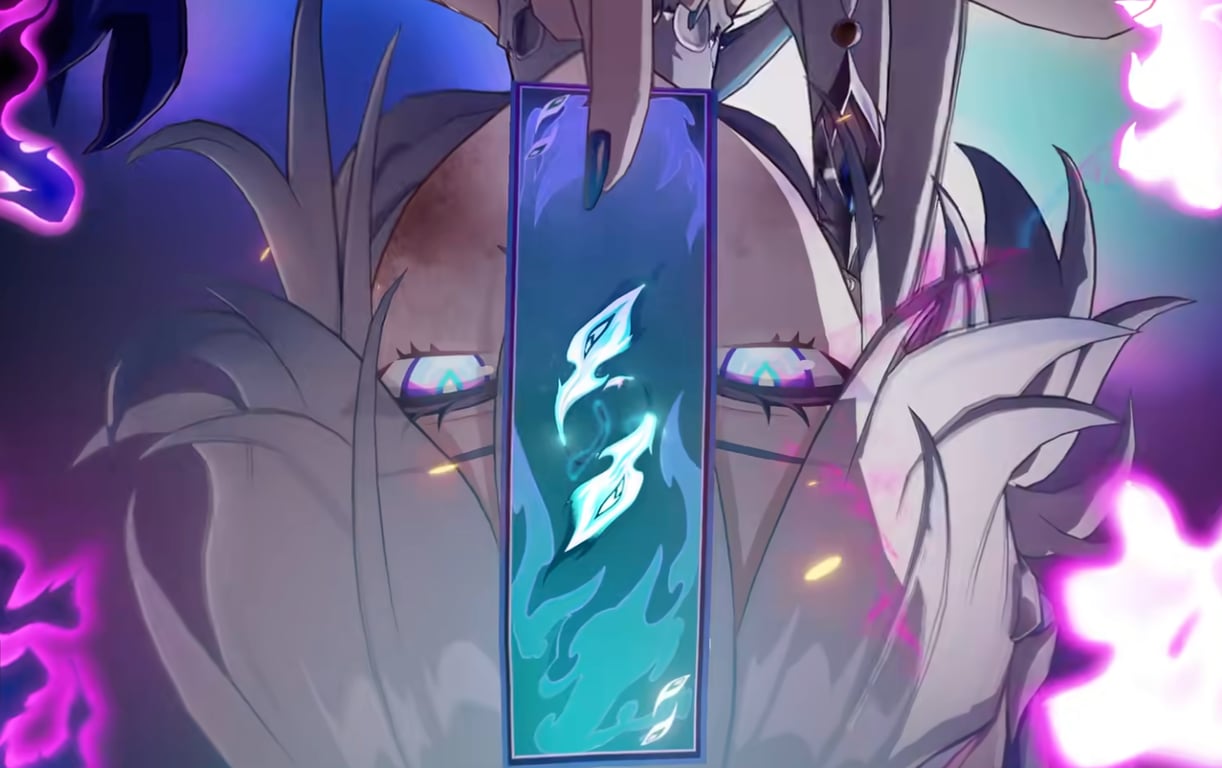
歡愉體系的核心玩法為「笑點+歡愉度」雙乘區機制,搭配「阿哈時刻」打群體爆發。

全隊共享笑點,可透過角色技能持續累積。當觸發「阿哈時刻」後,全隊會同步釋放歡愉技,並獲得高額傷害加成。

爻光主要透過「速度」轉化歡愉度;火花則透過「攻擊力」轉化歡愉度。兩人協同能快速堆滿體系增益,加速進入爆發循環。

目前歡愉體系潛力不錯,但角色尚未完全補齊,雙人搭配才能發揮最佳效果,單核發揮有限。

二、爻光+火花角色測評

微信图片_20260212131500_607_12.png

爻光(歡愉核心輔助)

定位:物理屬性歡愉輔助,體系必備拐,同時可跨體系輔助非歡愉主C。

核心優勢:
終結技可額外觸發一次「阿哈時刻」,大幅加快隊伍啟動節奏。
提供全隊全屬性抗性穿透,泛用性極高。
幾乎沒有明顯短板。

抽取建議:
0星魂即可完整發揮核心輔助能力。
專屬光錐提升幅度明顯,建議優先考慮0+1。
星魂優先度不高,不必盲目追高命座。

玩法建議:
優先堆速度。
戰技盡量銜接火花行動前施放。
終結技卡在「阿哈時刻」觸發前開啟,最大化全隊爆發。

光錐推薦:
首選專屬光錐「當她決定看見」,提供速度、能量回復與充能效率,加快循環。
平民可選4星光錐「菇菇嘎嘎歷險記」,補歡愉度與敵方歡愉易傷。

配隊思路:
核心綁定火花。
其餘位置建議一名生存位(如丹恆・騰荒)+一名功能輔助(如版本免費自選花火,優化戰技點循環)。
非歡愉隊也可作為物理主C的泛用輔助。

微信图片_20260212131756_609_12.png

火花(歡愉主C)

定位:火屬性歡愉主C。

核心玩法:
消耗戰技點打直傷+歡愉傷害。
單體與群傷表現均衡,但都不屬於頂尖梯度。
高度綁定爻光才能解鎖完整強度。

抽取建議:
0星魂可正常使用。
2星魂為關鍵提升,增幅明顯。
專屬光錐提升穩定,對未來轉副C也有幫助。
強度黨建議觀望,不建議盲抽。

玩法建議:
主打戰技連放。
優先堆攻擊力與歡愉度。
觸發「阿哈時刻」後再開終結技,最大化爆發收益。

光錐推薦:
首選專武。
無專武可用高攻通用光錐過渡(如「星神的隕落」滿精提供高額攻擊力)。

配隊思路:
必須綁定爻光。
不建議單獨入隊。
生存位建議高容錯角色,避免頻繁放戰技導致血線壓力過大。

三、抽卡優先度與建議

微信图片_20260212131708_608_12.png

抽卡優先級(由高至低):

爻光0+1 > 火花0星魂(僅限有爻光)> 火花2星魂/爻光1星魂 > 火花專武

不同玩家建議:

強度黨:
優先抽爻光0+1。
火花可先觀望,等待後續歡愉體系補強或更強主C。
避免「貸款抽卡」。

零氪/微氪:
抽爻光0星魂即可。
火花建議跳過。

真愛黨:
喜歡建模或人設,0星魂雙人即可。
不必強追星魂與專武。

避坑提醒:

不要單抽火花。
不要盲目補爻光高星魂。
不要為體系未完全成形而過度投資。
養成方向不要走歪——爻光不堆攻擊,火花不無腦堆速度。

總結

4.0版本的爻光與火花屬於歡愉體系的雙核心。爻光泛用性極高,優先度直接拉滿;火花則屬體系綁定型主C,單抽性價比不高。

如果你想提前布局歡愉體系,爻光絕對值得投資;若只是想要即戰力爆發主C,則可再觀望。

希望這篇攻略能幫助各位開拓者理清抽卡與養成方向,合理規劃星瓊,在4.0版本玩得開心、抽得安心。

追蹤 Keygold,後續分享更多《崩壞:星穹鐵道》相關資訊