";inherits:false;initial-value:#0000}@property --tw-gradient-via{syntax:"";inherits:false;initial-value:#0000}@property --tw-gradient-to{syntax:"";inherits:false;initial-value:#0000}@property --tw-gradient-stops{syntax:"*";inherits:false}@property --tw-gradient-via-stops{syntax:"*";inherits:false}@property --tw-gradient-from-position{syntax:"";inherits:false;initial-value:0}@property --tw-gradient-via-position{syntax:"";inherits:false;initial-value:50%}@property --tw-gradient-to-position{syntax:"";inherits:false;initial-value:100%}@property --tw-leading{syntax:"*";inherits:false}@property --tw-font-weight{syntax:"*";inherits:false}@property --tw-shadow{syntax:"*";inherits:false;initial-value:0 0 #0000}@property --tw-shadow-color{syntax:"*";inherits:false}@property --tw-shadow-alpha{syntax:"";inherits:false;initial-value:100%}@property --tw-inset-shadow{syntax:"*";inherits:false;initial-value:0 0 #0000}@property --tw-inset-shadow-color{syntax:"*";inherits:false}@property --tw-inset-shadow-alpha{syntax:"";inherits:false;initial-value:100%}@property --tw-ring-color{syntax:"*";inherits:false}@property --tw-ring-shadow{syntax:"*";inherits:false;initial-value:0 0 #0000}@property --tw-inset-ring-color{syntax:"*";inherits:false}@property --tw-inset-ring-shadow{syntax:"*";inherits:false;initial-value:0 0 #0000}@property --tw-ring-inset{syntax:"*";inherits:false}@property --tw-ring-offset-width{syntax:"";inherits:false;initial-value:0}@property --tw-ring-offset-color{syntax:"*";inherits:false;initial-value:#fff}@property --tw-ring-offset-shadow{syntax:"*";inherits:false;initial-value:0 0 #0000}@property --tw-outline-style{syntax:"*";inherits:false;initial-value:solid}@property --tw-blur{syntax:"*";inherits:false}@property --tw-brightness{syntax:"*";inherits:false}@property --tw-contrast{syntax:"*";inherits:false}@property --tw-grayscale{syntax:"*";inherits:false}@property --tw-hue-rotate{syntax:"*";inherits:false}@property --tw-invert{syntax:"*";inherits:false}@property --tw-opacity{syntax:"*";inherits:false}@property --tw-saturate{syntax:"*";inherits:false}@property --tw-sepia{syntax:"*";inherits:false}@property --tw-drop-shadow{syntax:"*";inherits:false}@property --tw-drop-shadow-color{syntax:"*";inherits:false}@property --tw-drop-shadow-alpha{syntax:"";inherits:false;initial-value:100%}@property --tw-drop-shadow-size{syntax:"*";inherits:false}@property --tw-backdrop-blur{syntax:"*";inherits:false}@property --tw-backdrop-brightness{syntax:"*";inherits:false}@property --tw-backdrop-contrast{syntax:"*";inherits:false}@property --tw-backdrop-grayscale{syntax:"*";inherits:false}@property --tw-backdrop-hue-rotate{syntax:"*";inherits:false}@property --tw-backdrop-invert{syntax:"*";inherits:false}@property --tw-backdrop-opacity{syntax:"*";inherits:false}@property --tw-backdrop-saturate{syntax:"*";inherits:false}@property --tw-backdrop-sepia{syntax:"*";inherits:false}@property --tw-duration{syntax:"*";inherits:false}@property --tw-ease{syntax:"*";inherits:false}@property --tw-scale-x{syntax:"*";inherits:false;initial-value:1}@property --tw-scale-y{syntax:"*";inherits:false;initial-value:1}@property --tw-scale-z{syntax:"*";inherits:false;initial-value:1}@keyframes pulse{50%{opacity:.5}}
中文繁體
登入 / 註冊
keygold invite coupon新註冊用戶專享註冊領取優惠券
keygold home主站keygold arrow-right網誌keygold arrow-right【絕區零 2.5】零號·安比復刻攻略:角色加強解析、抽取建議與追擊隊機制
keygold search

【絕區零 2.5】零號·安比復刻攻略:角色加強解析、抽取建議與追擊隊機制

keygold blog author吴拾安
2026/01/23
keygold facebook sharekeygold reddit sharekeygold twitter sharekeygold whatsapp share
keygold link

一、 角色定位與抽取建議

1. 角色定位
  • 站場型主 C: 零號·安比需要在前台進行攻擊,為敵人施加標記,從而觸發後台隊友的追加攻擊,形成「前台輸出 + 後台追擊」的循環體系。

  • 電屬性對策卡: 在應對弱電環境時表現出色。

2. 抽取建議
  • 老玩家: 如果你的隊伍強度已經足夠,且非 XP 黨(角色真愛黨),不推薦強行抽取

  • 追擊隊玩家: 如果你已經擁有 席德 图片 奧菲斯 图片 扳機 图片 等追擊體系隊友,且資源充足,可以考慮抽取作為電屬性對策。

  • 配置推薦: 平民玩家 0 影畫 + 1 專武 即可。若想補強,1 影畫2 影畫 是性價比最高的選擇。

二、 技能解析與加強點

1. 普攻
  • 加強點: 第三段普攻增加了聚怪能力。

  • 操作技巧: 點按兩次普攻後長按普攻鍵 图片 ,可連續打出第三、四、五段普攻,簡化操作。
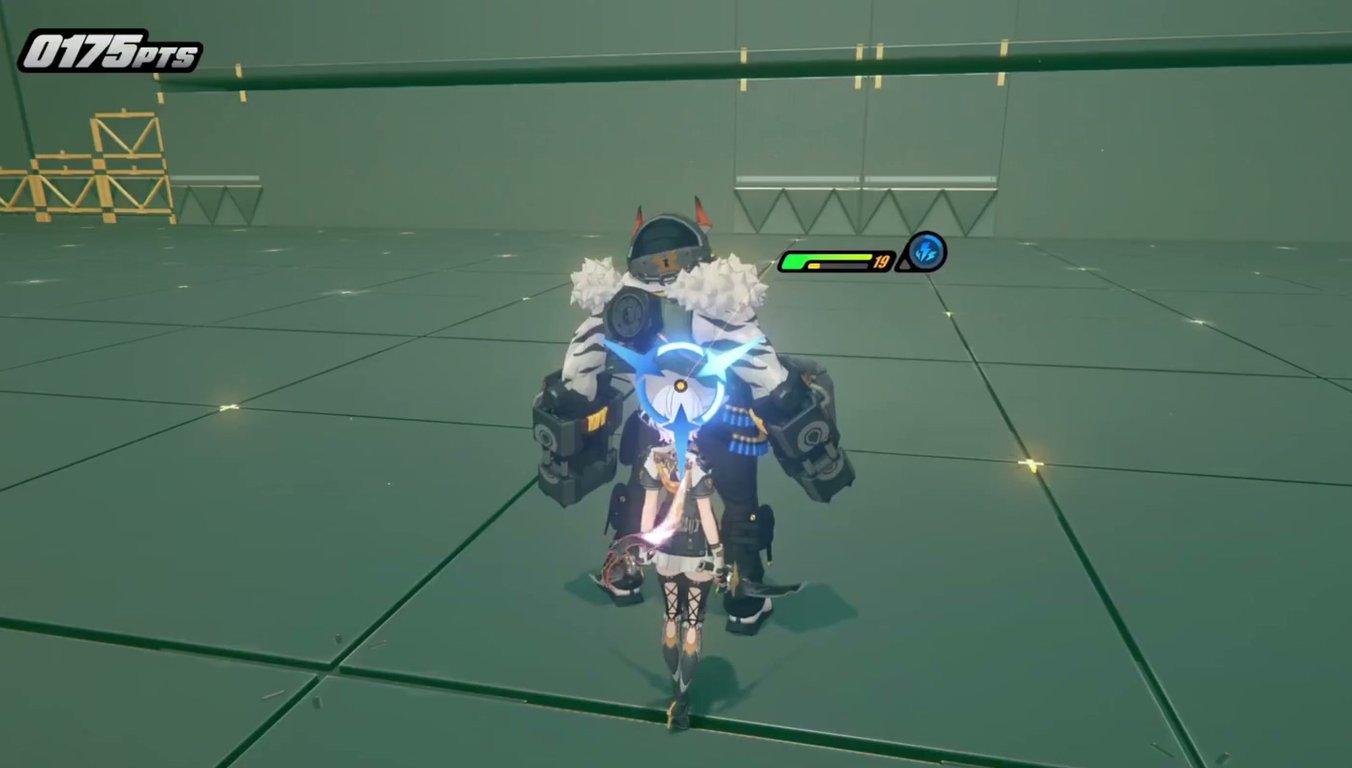
2. 核心機制:銀星與白雷
  • 標記系統: 攻擊敵人會累積「銀星」標記(敵人頭上有三個尖角圖標)。點亮一個尖角代表充能一次,疊加一層「白雷」。

    【绝区零_完全解析】零号·安比复刻抽取建议 超详细攻略指南.mp4_000245.133.jpg

    【绝区零_完全解析】零号·安比复刻抽取建议 超详细攻略指南.mp4_000320.133.jpg

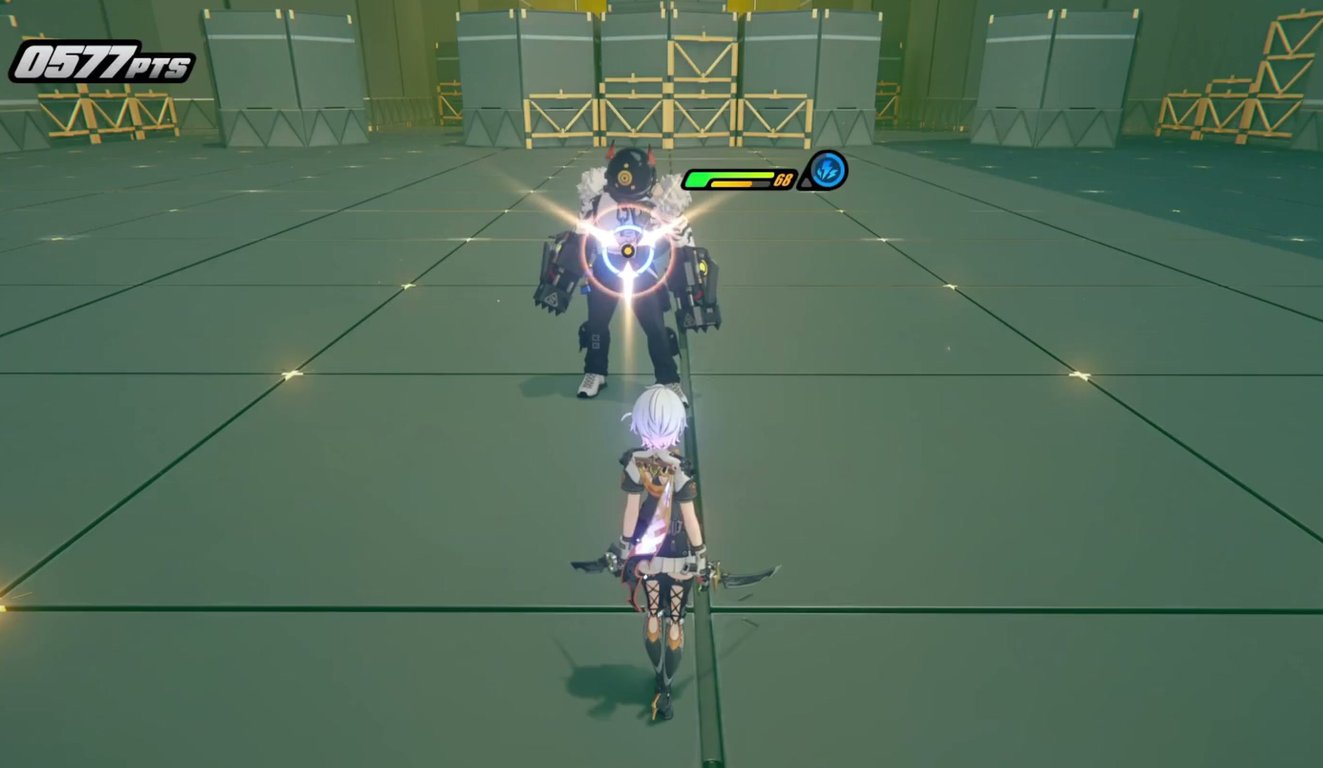
  • 特殊技 (E): 敵人有一層銀星時,點按 E 图片 發動「蒼光」,消耗銀星並造成額外電屬性傷害。

    48.gif

  • 雷殛: 當敵人疊滿三層銀星時,快速連續點按三次 E 鍵 图片 ,會發動三連斬並召喚落雷。

    • 注意: 必須連續點按,中斷則無法觸發落雷(落雷傷害倍率極高)。

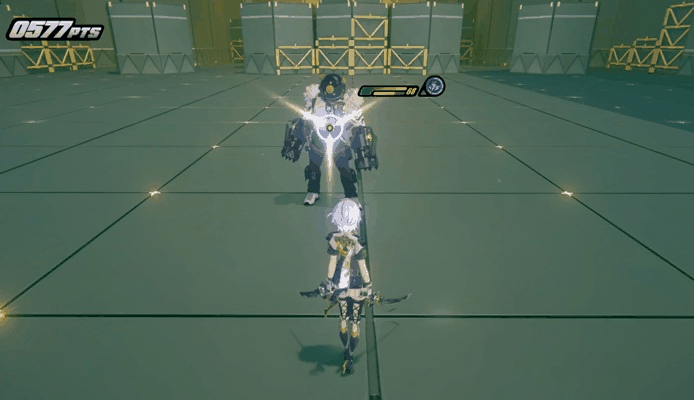
  • 2.5 版本新增機制——「蒼光·臨界」: 觸發「雷殛」後,現在會自動銜接一段名為「蒼光·臨界」的十字斬擊。這段攻擊是 2.5 版本的新增強,傷害倍率甚至高於落雷。

    49.gif

3. 電荷超載
  • 加強點: 閃避反擊後图片獲得「電荷超載」Buff(頭像下方閃電圓形圖標),提升閃避性能(藍色殘影特效)。持續期間再次閃避反擊可刷新時間。

    【绝区零_完全解析】零号·安比复刻抽取建议 超详细攻略指南.mp4_000457.115.jpg

    50.gif

4. 對群加強
  • 擊殺帶有銀星的敵人後,會自動對周圍敵人釋放一道落雷,大幅提升清怪效率。

三、 實戰手法與合軸技巧

1. 快速疊加銀星的方法
  • 打滿兩套普攻。 图片

  • 閃避反擊。 图片

  • 強化特殊技(一次疊滿)。 图片

  • 終結技(直接疊滿)。 图片

  • 連攜技。 图片

  • 加強點: 隊友的追加攻擊也能協助疊加銀星。

2. 合軸時機
  • 釋放強化特殊技「極雷斷空」 图片 躍起瞬間。

  • 普攻第五段 图片 躍起瞬間。

  • 閃避反擊 图片 躍起瞬間。

  • 敵人滿銀星,安比第三次突刺瞬間。

3. 實戰循環演示(隊伍:零號·安比 图片 + 波可娜 图片 + 妮可 图片
  • 妮可 聚怪 -> 安比 長按 E(強化特殊技) 图片 疊滿銀星 -> 連點 E 爆發(雷殛 + 臨界) 图片

  • 失衡期:妮可 連攜 图片 /大招 图片 -> 安比 連攜 图片 -> 消耗銀星 -> 終結技 图片 -> 再次消耗銀星 -> 波可娜 補傷害 -> 回到安比站場。

四、 裝備推薦

1. 音擎 (武器)
  • 最優選: 專武 「犧牲潔純」 图片

  • 次選: 常駐五星 「硫磺石」 图片

  • 過渡: 大月卡武器 「加農轉子」图片 或玩具店武器 「星徽引擎」 图片

2. 驅動光碟
  • 4件套: 「如影相隨」 图片

  • 2件套: 「折枝劍歌」图片 / 「啄木鳥電音」 图片/ 「河豚電音」图片

  • 詞條:

    • 4號:暴擊/暴傷。

    • 5號:電傷/穿透/攻擊。

    • 6號:攻擊力。

五、 影畫與配隊

1. 影畫推薦
  • 1 影畫: 強化特殊技後連續觸發三次白雷傷害且不消耗銀星,極大提升爆發。

  • 2 影畫: 暴擊率提升 12%,終結技後能打出更多蒼光與雷殛。

2. 配隊推薦 需保證隊伍中有擊破支援角色以觸發額外能力。
  • 零號·安比 图片 + 波可娜 图片 + 妮可 图片

  • 零號·安比 图片 + 扳機 图片 + 奧菲斯 图片

  • 零號·安比 图片 + 席德 图片 + 耀嘉音 图片