BlogGenshin Impact 6.5 Phase 2 Banners: Nefer and Lauma Rerun! Lunar-Bloom Team Building Guide
Genshin Impact 6.5 Phase 2 Banners: Nefer and Lauma Rerun! Lunar-Bloom Team Building Guide
 Avery Wilson


1. Banner Overview
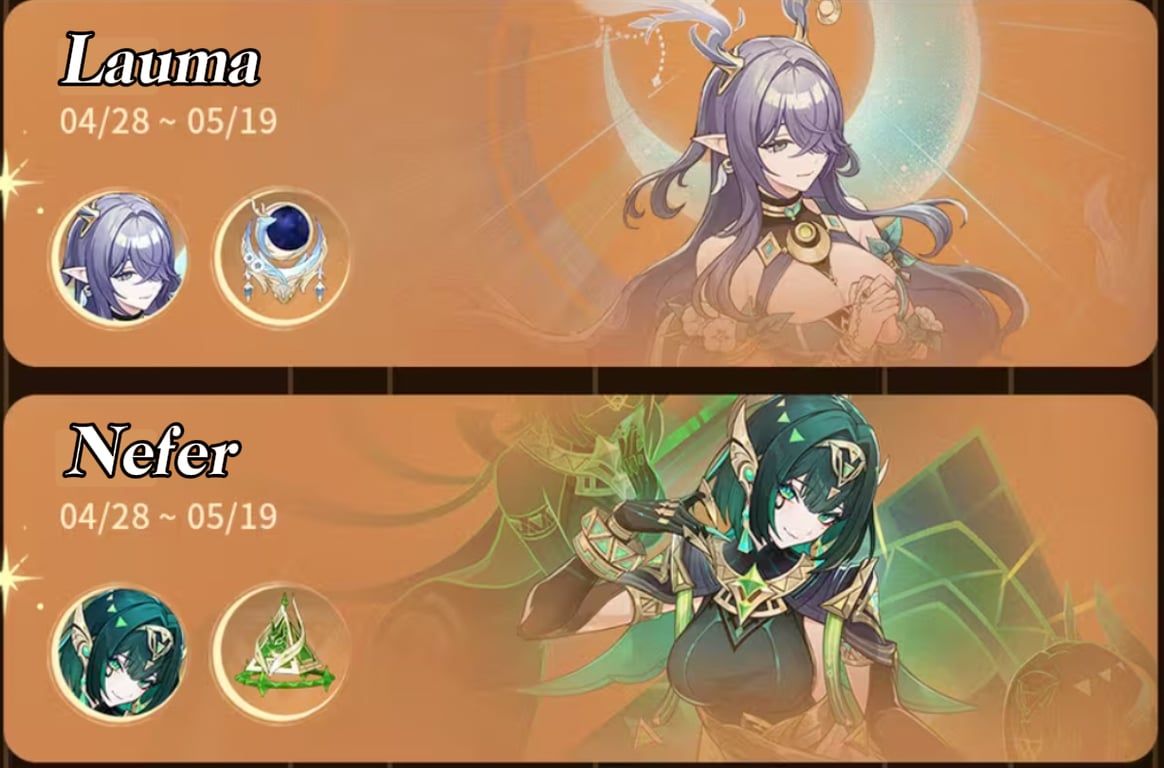
The Phase 2 banners of Version 6.5, running from April 29 to May 19, feature two 5-star rerun characters:
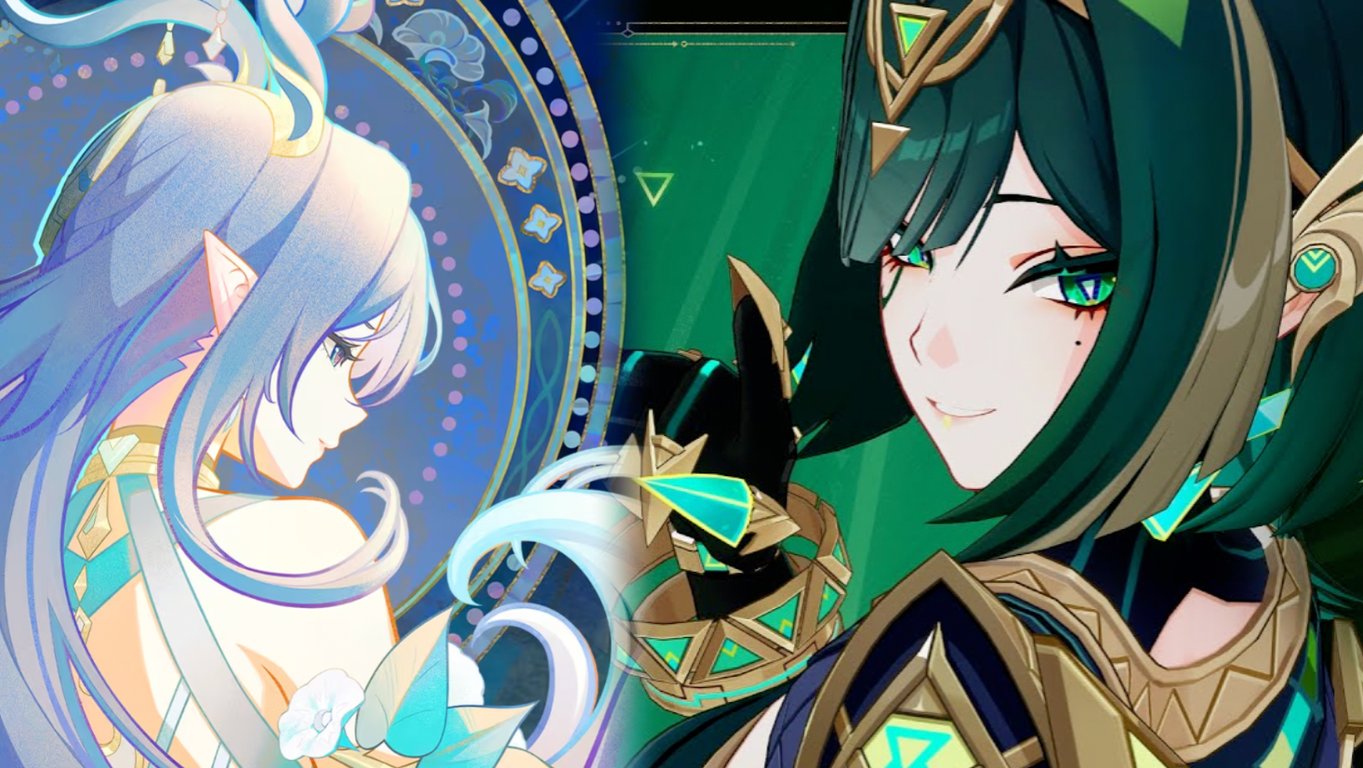
Nefer — 5-star Dendro reaction DPS
Lauma — 5-star Dendro support
Both characters are featured during the same banner phase, making this one of the best opportunities to complete a Lunar-Bloom team.
Unlike many flexible characters that can be slotted into different teams, Nefer and Lauma have very high synergy with each other. Pulling only one of them can significantly reduce the overall performance of the team, which is the most important point for newer players to understand.
There are no new 5-star characters competing for resources in this banner phase, so low-spenders and F2P players can plan their pulls more directly.
2. Pulling Advice: Who Should Pull?
The core rule is simple:
If you want to play Lunar-Bloom, Nefer + Lauma is highly recommended. If you do not plan to play this archetype, pull with caution.
Your first priority should be getting both characters at C0. Constellations should only be considered after that.
Lunar-Bloom Players: Highly Recommended
If you already have the foundation for a Lunar-Bloom team, such as Nilou or strong Hydro applicators like Xingqiu, this banner is extremely valuable.
Nefer acts as the main Dendro reaction DPS, while Lauma provides the support tools needed to push the team’s damage ceiling. At C0, the duo already enables a complete Lunar-Bloom playstyle with strong reaction damage, smooth rotations, and reliable performance in both Spiral Abyss and overworld content.
If You Already Own One of Them
If you have Nefer but not Lauma:
Lauma should be your top priority. Nefer relies heavily on Lauma’s Dendro application, resistance shred, and reaction damage buffs. Without Lauma, Nefer’s damage ceiling drops sharply, and the team feels much less complete. C0 Lauma is already functional, while C1 improves comfort through healing.
If you have Lauma but not Nefer:
Pull Nefer if you want to play Lunar-Bloom. Nefer is the core on-field or reaction DPS for this archetype and currently has no direct replacement in that role. If you do not plan to build Lunar-Bloom, Lauma can still work in other Dendro-based teams, so Nefer is not mandatory.
Meta Players and Waifu/Husbando Players
Meta-focused players:
If you already have strong, fully built teams and do not plan to invest in Lunar-Bloom, skipping this rerun is reasonable. If you want to strengthen your Dendro roster, Lauma generally has higher pull value than Nefer because of her broader support utility.
Character-focused players:
If you like Nefer or Lauma, C0 is enough for normal use. Constellations are optional and should depend on your budget.
Constellation Priority
Nefer:
C0 is enough for a complete Lunar-Bloom setup. C2 is the major upgrade point, significantly increasing Lunar-Bloom damage and unlocking stronger core DPS potential. C6 allows her to shift further into a premium on-field DPS role.
Recommended stopping points: C0 for budget players, C2 for damage-focused players.
Lauma:
C0 is usable. C1 improves team comfort by adding healing. C2 is the key damage constellation, increasing overall Lunar-Bloom output. C4 helps with Energy Recharge and smoother rotations.
Recommended priority: C1 first, then C2 if you have the budget.
3. Character Build Guide

The basic build logic is:
Nefer focuses on Elemental Mastery, CRIT Rate, and CRIT DMG.
Lauma focuses on Elemental Mastery and Energy Recharge.
ATK is not a major priority for either character in Lunar-Bloom teams.
Nefer Build Guide — Dendro Lunar-Bloom DPS
Talent Priority
Elemental Burst > Elemental Skill > Normal Attack
Recommended talent level target: 8 / 10 / 6, depending on your resources.
Nefer’s key talent mechanics allow her to absorb special reaction cores and convert them into stronger damage. This is the center of her Lunar-Bloom playstyle, so her main damage talents should be prioritized.
Weapon Recommendations
5-Star Weapons
Reliquary of Truth
Her signature weapon and best-in-slot option. It provides Elemental Mastery and CRIT-related value, making it highly compatible with Lunar-Bloom damage scaling.
Lost Prayer to the Sacred Winds
A strong general-use Catalyst option with CRIT Rate and solid overall performance.
4-Star Weapons
Sacrificial Fragments
One of the best F2P-friendly options. It provides Elemental Mastery and can reset Elemental Skill cooldown, improving Dendro application and rotation consistency.
The Widsith
A high-ceiling 4-star option. Its random buffs can be inconsistent, but when the correct buff is triggered, its burst potential can rival some 5-star weapons.
Artifact Recommendations
Best Set
4-Piece Night of the Sky’s Unveiling
Best option for Nefer, offering CRIT-related benefits and improving Lunar-Bloom damage. It also reduces the pressure of building high CRIT Rate.
Alternative Sets
4-Piece Gilded Dreams
A strong general reaction set that increases Elemental Mastery after triggering reactions.
2-Piece + 2-Piece Elemental Mastery Sets
A practical option if your substats are better. For example, 2-piece Gilded Dreams plus another EM or Dendro-related set can still perform well.
Main Stats
Sands: Elemental Mastery
Goblet: Elemental Mastery
Circlet: CRIT Rate / CRIT DMG, depending on your stats
If your CRIT DMG is already high, an Elemental Mastery circlet can also be considered.
Substat Priority
Elemental Mastery > CRIT Rate > CRIT DMG > HP
ATK has very low value in this team and can generally be ignored.
Recommended Stats
Aim for 900+ Elemental Mastery outside combat. In actual combat, team buffs and weapon effects can push this even higher.
For CRIT stats, try to reach around 50% CRIT Rate / 180% CRIT DMG or better for more stable output.
Lauma Build Guide — Dendro Support / Sub-DPS
Talent Priority
Elemental Burst > Elemental Skill > Normal Attack
Recommended talent level target: 8 / 10 / 6.
Lauma’s core value comes from Dendro application, resistance shred, and teamwide Bloom-related buffs. These mechanics make her the key support for Lunar-Bloom teams.
Weapon Recommendations
5-Star Weapon
Nightweaver’s Looking Glass
Lauma’s signature weapon. It improves Elemental Mastery and CRIT value, allowing her to provide support while contributing some personal damage.
4-Star Weapon
Sacrificial Fragments
A practical and accessible option. It provides Elemental Mastery, helps with skill uptime, and improves Dendro application consistency.
Artifact Recommendations
Best Set
4-Piece Silken Moon’s Serenade
Lauma’s best support set for Lunar-Bloom teams. It increases Elemental Mastery and boosts Lunar-Bloom-related team damage.
Note that the Gleaming Moon effect requires different effect types to stack properly, and Lunar-Bloom itself cannot directly trigger that specific effect.
Main Stats
Sands: Elemental Mastery / Energy Recharge
Goblet: Elemental Mastery
Circlet: Elemental Mastery / CRIT Rate
For solo-Dendro teams, use an Energy Recharge Sands. For double-Dendro teams, Elemental Mastery Sands is usually preferred.
Substat Priority
Elemental Mastery > Energy Recharge > CRIT Rate > HP
Recommended Stats
For solo-Dendro teams, aim for 200%+ Energy Recharge.
For double-Dendro teams, aim for around 180%+ Energy Recharge.
Elemental Mastery should ideally reach 800+ to ensure strong support value and smooth rotations.
4. Best Lunar-Bloom Team Comps

The core structure of Nefer + Lauma teams is usually:
Double Dendro + Double Hydro
This setup focuses on Lunar-Bloom reaction damage while maintaining stable application, survivability, and rotation flow.
Budget Team — Low-Cost 2-Gold Setup
Nefer + Lauma + Xingqiu + Yaoyao / Baizhu
Why It Works
Xingqiu provides consistent off-field Hydro application. Yaoyao or Baizhu adds healing and defensive comfort. Nefer acts as the main Lunar-Bloom damage dealer, while Lauma provides Dendro application, resistance shred, and reaction buffs.
This team does not require a premium Hydro 5-star, making it beginner-friendly and relatively affordable. It has strong survivability, simple rotations, and enough damage for most endgame content.
Premium Team
Nefer + Lauma + Columbina + Nahida
Why It Works
Columbina replaces Xingqiu as the premium Hydro option, offering stronger Hydro application and higher damage potential. Nahida provides a large Elemental Mastery boost and additional Dendro synergy. Lauma’s C2 further increases teamwide Lunar-Bloom damage, while Nefer delivers the main reaction-based DPS.
This is the high-ceiling version of the Lunar-Bloom team and is suitable for players who want stronger Abyss performance and smoother high-end rotations.
For low-spenders and F2P players, the safest approach is still to plan your wishes carefully: prioritize C0 Nefer and C0 Lauma first, then only consider Nefer C2 or Lauma C2 if your roster, pity count, and budget allow it.
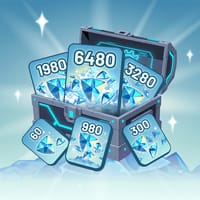
If you still need extra Genesis Crystals for this banner, a safe Genshin Impact top up can help you prepare for the rerun without disrupting your pull plan.
Conclusion

Plan Your Primogems Before Pulling!!!
The Version 6.5 Phase 2 rerun of Nefer and Lauma is one of the best opportunities to complete a Lunar-Bloom team.
The pull logic is straightforward:
Want to play Lunar-Bloom? Pull both at C0.
Do not care about Lunar-Bloom? Pull with caution.
Budget players can stop at C0.
Damage-focused players can consider Nefer C2 or Lauma C2.
For most players, getting both characters first is more valuable than chasing constellations on only one of them. Plan your Primogems carefully, prioritize the full team core, and only go deeper if your roster and budget allow it.
Follow Keygold.gg to get the latest Genshin Impact top up-related game news as soon as it drops!
FAQ
1. Can I pull only Nefer or only Lauma?
It is not recommended if your goal is to play Lunar-Bloom. Nefer loses a lot of damage without Lauma’s support, while Lauma cannot fully enable the Lunar-Bloom archetype without Nefer. For best value, try to get both at C0.
2. Can F2P players build them without 5-star weapons?
Yes. Sacrificial Fragments and The Widsith are both viable 4-star options. Focus on Elemental Mastery and useful substats first. C0 characters with 4-star weapons are enough for a functional Lunar-Bloom team.
3. What enemies are difficult for Lunar-Bloom teams?
Lunar-Bloom teams can struggle against enemies with high Dendro RES or heavy interruption pressure. You can improve comfort by using Baizhu, Yaoyao, or Zhongli depending on your roster. In most content, the team remains highly usable as long as you maintain stable Hydro and Dendro application.

- Bless of the Welkin Moon$3.82-$1.17$4.99
- 60 Genesis Crystal$0.77-$0.23$0.99
- 300+30 Genesis Crystal$3.82-$1.17$4.99
- 980+110 Genesis Crystal$11.47-$3.52$14.99
- 1980+260 Genesis Crystal$22.94-$7.05$29.99
- 3280+600 Genesis Crystal$38.24-$11.75$49.99
- 6480+1600 Genesis Crystal$79.99-$20$99.99
- 6480+1600 Genesis Crystal*3$259.97-$40$299.97
- 6480 + 1600 Genesis Crystals*5$439.96-$59.99$499.95
- 6480 + 1600 Genesis Crystals*10$889.91-$109.99$999.9
- All-In-One Bundle$170.85-$30.09$200.94