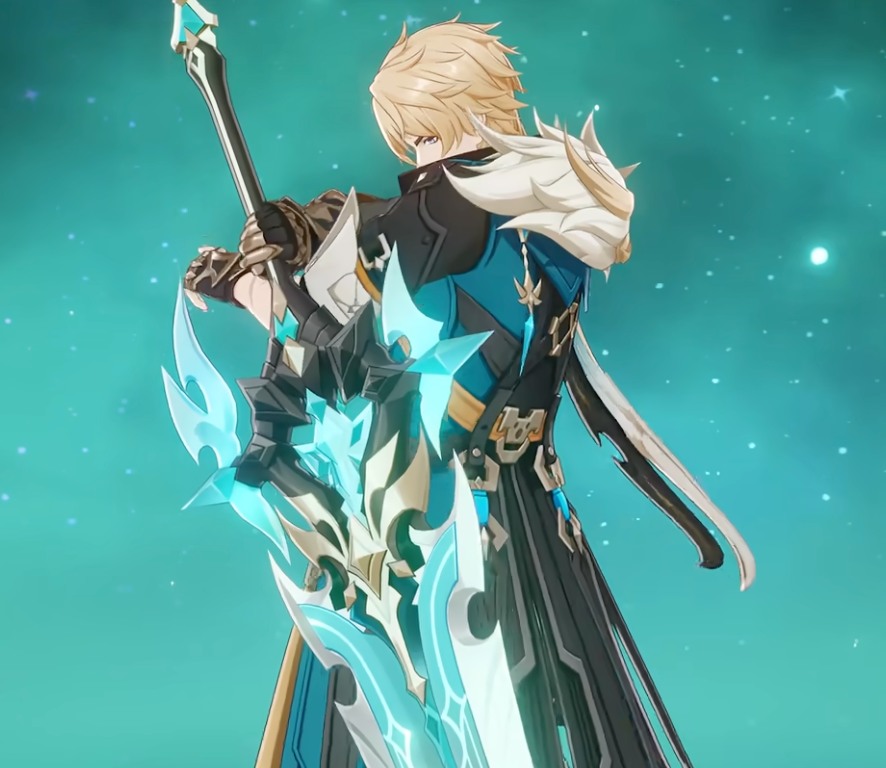
Varka Guide — Anemo Infusion Main DPS with Team-Binding but Strong Scaling
 Finley Davis


Varka is a 5★ Anemo Claymore on-field DPS introduced in Version 6.4. His core gameplay revolves around Infusion-based mixed damage and Magus archetype synergy. Unlike traditional Anemo supports, Varka is built to deal sustained on-field damage, but his ceiling heavily depends on a “Double Anemo + Double same-element” team structure to fully unlock his potential.
He has a low mechanical barrier, smooth Normal Attack animations, excellent overworld mobility, and a complete kit at C0. Below is a concise yet comprehensive build and team guide ?
I. Core Role & Mechanics

✅ Role
Core on-field DPS of the Magus archetype.
His damage pattern centers on Anemo + infused elemental mixed damage.
Do not build him like a traditional Anemo support — doing so wastes his scaling potential.
✅ Core Mechanic
Tap Elemental Skill (E): Enters a short enhancement state.
Left-hand attacks deal pure Anemo DMG.
Right-hand attacks become infused with the most represented element in the team (Pyro / Hydro / Electro / Cryo).
Hold Elemental Skill (E): Long-range dash useful for exploration.
The more Mondstadt characters in the team, the shorter the Skill cooldown — making him extremely efficient in overworld traversal.
✅ Key Scaling Condition
To reach maximum output, the team must meet the condition:
Double Anemo + Double same-element
When this requirement is fulfilled, Varka can unlock up to 220% damage multiplier scaling, which defines his ceiling. Missing either condition significantly lowers his peak output.
II. Talent Priority
Core leveling logic:
Elemental Skill (E) > Elemental Burst (Q) > Normal Attack (optional)
✅ Must-Level
Elemental Skill (E): Primary damage source. Leveling increases enhanced attack multipliers and slightly reduces cooldown.
Elemental Burst (Q): Supplemental AoE damage, triggers Swirl amplification and minor energy generation for the team.
Leveling both E and Q to 8–10 is sufficient for nearly all content.
Normal Attacks do not require significant investment.
III. Weapon Recommendations
⭐ Best-in-Slot
Song of the Wolf’s Valor (Signature Weapon)
Perfect synergy with his infusion-based mixed damage playstyle.
Provides high CRIT DMG and ATK bonuses while increasing Attack Speed, making enhanced Normal Attack strings smoother. This is the best choice for maximizing his ceiling.
⭐ Strong Alternatives
Beacon of the Reed Sea (~85% of signature performance)
Provides survivability and strong offensive scaling.Serpent Spine (R5) (~84% of signature performance)
Very stable damage but requires a shielder to avoid losing stacks.
IV. Artifact Build

Main Stats
Sands: ATK%
Goblet: ATK%
Circlet: CRIT Rate / CRIT DMG
Aim for around 2500 ATK — beyond that, diminishing returns become noticeable. Prioritize healthy CRIT ratios.
Substat Priority
CRIT Rate + CRIT DMG > ATK% > Elemental Mastery
Recommended Set
4-Piece “Dawn of the Rising Wind”
His dedicated artifact set, providing direct ATK and CRIT bonuses tailored to his infusion-based scaling.
V. Team Building — Core Template

Stick strictly to:
Double Anemo + Double same-element
Among variants, Double Pyro offers the highest overall damage return and fits most combat scenarios.
? Optimal Team (High Investment)
Varka + Venti / Faruzan + Durin + Bennett
Double Anemo (Varka + Venti/Faruzan): RES shred and Anemo DMG amplification
Double Pyro (Durin + Bennett): Massive ATK buffs and off-field Pyro application
Enables full Magus synergy and maximum multiplier scaling
Best suited for Spiral Abyss and high-difficulty content.
? Budget-Friendly Team (F2P Viable)
Varka + Sucrose + Xiangling + Bennett
Double Anemo (Varka + Sucrose): Crowd control + RES shred
Double Pyro (Xiangling + Bennett): Off-field damage + ATK buff
Fully functional even at low investment
Excellent entry option for new or F2P players.
VI. Constellation Value
C0
Complete kit. Fully functional main DPS.
Strong enough for overworld and Spiral Abyss with proper rotation.
C1
Grants an additional empowered attack after Skill activation.
Improves burst windows and rotation smoothness.
Recommended for light spenders.
C2 / C4 / C6
Luxury scaling.
C2: Reduces Skill cooldown
C4: Increases infusion damage
C6: Grants team-wide damage buff and significantly raises ceiling
Only recommended for heavy investors or Magus archetype enthusiasts.
Pull Recommendation
Pull if:
You already own Bennett, Durin, or other compatible supports
You lack a dedicated on-field main DPS
You want to invest in the Magus archetype
Skip if:
You already have multiple well-built main DPS units
You dislike team-binding playstyles
Final Verdict
Varka is a highly archetype-focused main DPS with strict team requirements, but strong performance even at C0. His build cost is reasonable, and his overworld mobility is excellent.
For players with Bennett, Durin, and proper synergy supports — or those looking to explore the Magus archetype — Varka is absolutely worth considering.
Once fully built, he performs comfortably in both high-end Spiral Abyss and overworld exploration.
Follow Keygold.gg to get the latest Genshin Impact-related game news as soon as it drops!


- All-In-One Bundle$160.8-$40.14$200.94
- Blessing of the Welkin Moon$3.82-$1.17$4.99
- 60 Genesis Crystals$0.77-$0.23$0.99
- 300+30 Genesis Crystals$3.6-$1.39$4.99
- 980+110 Genesis Crystals$10.83-$4.16$14.99
- 1980+260 Genesis Crystals$21.67-$8.32$29.99
- 3280+600 Genesis Crystals$36.12-$13.87$49.99
- 6480+1600 Genesis Crystals$74.99-$25$99.99
- 6480+1600 Genesis Crystal*3$244.97-$55$299.97
- 6480 + 1600 Genesis Crystals*5$414.96-$84.99$499.95
- 6480 + 1600 Genesis Crystals*10$839.92-$159.98$999.9