

HSR 4.4 Phase 2 Warp Guide

Greetings, Trailblazers! Version 4.4 "When Whistles Fade into Silence" has reached its second phase. This Warp period features rerun banners for Cerydra, Anaxa, and Aventurine, while the SP Himeko (Himeko • Nova) Warp spans the entire Version 4.4 update, so there is no need to worry about missing her pulling window. Unlike previous banners featuring highly versatile options, the rerun characters in this phase are heavily team-dependent archetype units. They require specific teammates to unleash their full potential, meaning pulling blindly can easily lead to a waste of Stellar Jades.
This guide comprehensively breaks down the pulling logic for both the rerun characters and SP Himeko across key dimensions—including character roles, core mechanics, Eidolon priorities, and optimal team compositions. Combining different players' Stellar Jade reserves and character rosters, we offer precise pulling recommendations that balance meta strength with personal preference, helping you make the best decision. If you find yourself running short on Stellar Jades during your pulls, you can also choose to replenish your resources quickly through top-up channels to capture this limited-time Warp opportunity (HSR top up).
I. Honkai: Star Rail 4.4 Phase 2 Rerun Banner Overview
Character | Element / Path | Core Role | Recommended For | Not Recommended For | Pull Target |
Cerydra | Wind / Harmony | Skill-duplication niche support, dedicated buffer for Baie/Anaxa, drastically increases Skill DPS burst ceiling. | 1. Owns Baie or Anaxa, lacks Skill-duplication support; 2. Lacks Cilian, resulting in clunky Baie team rotations; 3. Wants to boost Skill DPS output ceiling; 4. Character fans. | 1. Lacks core Skill DPS like Baie or Anaxa; 2. Already has a mature Cilian support setup; 3. Low Stellar Jades, seeking versatile supports; 4. Only needs general DMG buffers. | E0S0 is viable. Prioritize E1 (major power spike); Light Cone later. E2 is a whale boost, optional. |
Anaxa | Wind / Erudition | Single-target specialized Erudition carry, applies all Weaknesses in batches, core DPS for Erudition teams with a high ceiling. | 1. Character lovers / fans; 2. Planning Erudition teams and owns Cerydra/Cilian; 3. Aiming for single-target speedrun limits; 4. Lacks Wind single-target main DPS. | 1. Limited Stellar Jades (can only build 1-2 teams); 2. Lacks core supports, weak solo carry; 3. Owns mature meta DPS (e.g., Baie, Dan Heng • Permansor); 4. Prefers AoE mobbing environments. | Character fans stop at E0S0; meta players aim for E2S1+ (E1/E2 smooth upgrades, Signature Light Cone yields high value). |
Aventurine | Imaginary / Preservation | Shield sustain with follow-up attack DMG, focused on team shield defense. | 1. Character fans; 2. Lacks Imaginary Preservation characters for sustain slot; 3. Enjoys shield counter-attack mechanics. | 1. Already owns top-tier sustains like Dan Heng • Permansor or Huohuo; 2. Meta players seeking both sustain and offense; 3. Low Stellar Jades, prioritizing DPS/support pulls. | Pull only for character preference; meta players skip completely. |


Pull Budget Tip: If you're running short on Stellar Jades, consider evaluating HSR Top Up options in advance to maximize first-time recharge bonuses or limited-time bundles.
II. In-Depth Rerun Character Analysis (Kit, Eidolons & Team Comps)
1. Cerydra (Wind • Harmony)
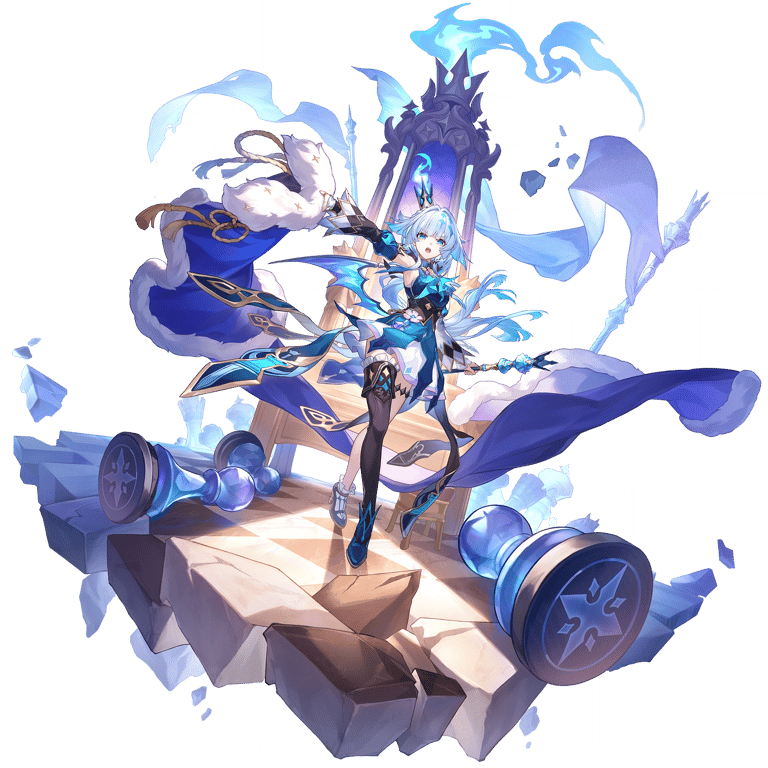
Core Kit Breakdown
Cerydra's core mechanic revolves around [Military Merit] stacks. She stacks [Military Merit] on teammates via her Skill. Once maxed out, it triggers a "Skill Re-cast" effect while granting high ATK, Crit DMG, and DMG RES PEN. Essentially a Skill-specialized support, her primary value lies in multiplying the burst output of Skill-dependent DPS carries. Note that her buffs only benefit characters relying heavily on Skill DMG—providing minimal value for Ultimate or Follow-up oriented carries, resulting in low general versatility and strong team-niche binding.
Eidolon Priority Analysis
E0: Unlocks all core mechanics, enabling Skill-duplication and baseline DMG buffs. Fits comfortably into Baie and Anaxa teams, though [Military Merit] stacks slower, leading to minor rotation hiccups. Great budget option for F2P players.
E1 (Key Power Spike): Significantly shortens [Military Merit] stacking time, increasing the frequency of Skill re-casts and drastically improving rotation fluidity. Also boosts DMG buffs slightly, making it the most cost-effective Eidolon node for casual players, prioritizing over her Signature Light Cone.
E2: Further enhances the DMG multiplier of duplicated Skills, boosting the main DPS burst ceiling and extending buff durations. High-end optimization node recommended only for whales or min-maxers.
Signature Light Cone: Provides extra ATK% and Energy Regeneration Rate to boost supporting capabilities. However, at E0, it can be substituted by the 4-star Light Cone Dance! Dance! Dance!. Lower value than E1, so prioritize getting E1 first.
Recommended Team Comps
Baie Burst Team: Baie + Cerydra + Robin + Sustain (Huohuo / Aventurine)
Cerydra duplicates Baie's Skill, combined with Robin's energy battery and team DMG buffs to achieve multi-wave Skill bursts, maximizing Baie's DMG ceiling.
Anaxa Premium Team: Anaxa + Cerydra + Sunday + Sustain
Leverages Cerydra's Skill duplication to let Anaxa unleash multiple Skill bounces, paired with Sunday's full-team buffs for massive single-target burst DMG.
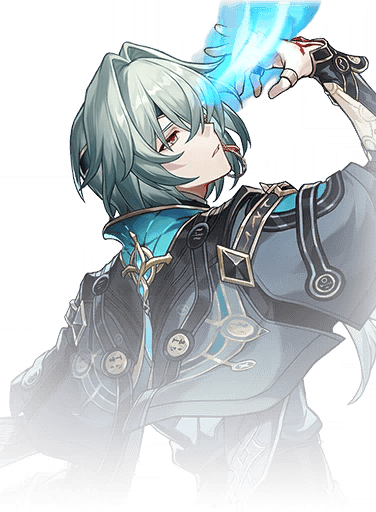
2. Anaxa (Wind • Erudition)
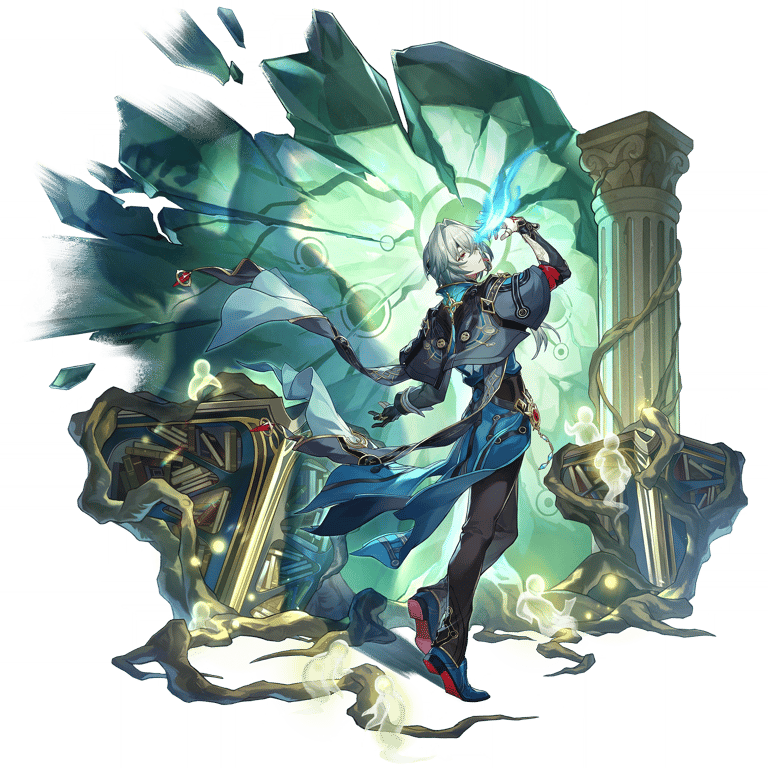
Core Kit Breakdown
As a Wind Erudition main DPS, Anaxa's primary strengths lie in single-target burst and Weakness application: his Skill deals bounce DMG to a single target and can be cast twice consecutively; his Ultimate applies all 7 Type Weaknesses to enemies, interrupting enemy actions and triggering Weakness Break, making him shine in tough boss fights. Furthermore, his Talent grants hefty teamwide DMG boosts when there are ≥2 Erudition characters in the squad. However, his drawbacks are clear: he heavily relies on enablers. Without Cerydra or Cilian, E0 Anaxa's DPS drops to T2 level, with higher operational demands and weaker AoE clearing.
Eidolon Priority Analysis
E0: Unlocks basic DPS mechanics for single-target battles, but has a modest ceiling and average energy cycle. Suitable mainly for character fans or temporary filler.
E1: Improves Skill bounce counts and DMG multipliers, increasing single-target burst while slightly easing energy pressure. A smooth quality-of-life upgrade for budget meta players.
E2 (Major Power Spike): Drastically boosts Skill and Ultimate multipliers while granting extra Skill casts. Paired with Cerydra, he can execute 4 consecutive Skill bursts, massively elevating his DPS ceiling. A must-have node for meta chasers.
Signature Light Cone: Grants high Crit DMG and DMG boosts, improving combat feel and burst output. Similar priority to E1; recommended to pair with E2 for the best play experience.
Recommended Team Comps
Erudition Burst Team: Anaxa + Cerydra + Sunday + Huohuo
Ultimate single-target burst setup. Utilizes Cerydra's Skill duplication and Sunday's buffs to maximize Anaxa's output, ideal for tackling high-HP single bosses.
Transitional Erudition Team: Anaxa + Cilian + Welt + Sustain
Alternative setup without Cerydra. Cilian provides energy recovery and DMG buffs, while Welt assists with crowd control, meeting everyday farming needs.
3. Aventurine (Imaginary • Preservation)

Core Mechanism & Pull Advice
As an Imaginary Preservation character, Aventurine excels at providing high teamwide shields along with follow-up counter DMG. However, current sustain options are fiercely competitive: Dan Heng • Permansor (offering both survivability and offensive pressure) and Huohuo (group healing + energy regeneration) deliver superior versatility. Aventurine's overall value and cost-efficiency are relatively low. Recommended strictly for character fans; meta players can safely skip and focus resources on other sustains.
III. SP Himeko (Himeko • Nova) Version-Wide Banner
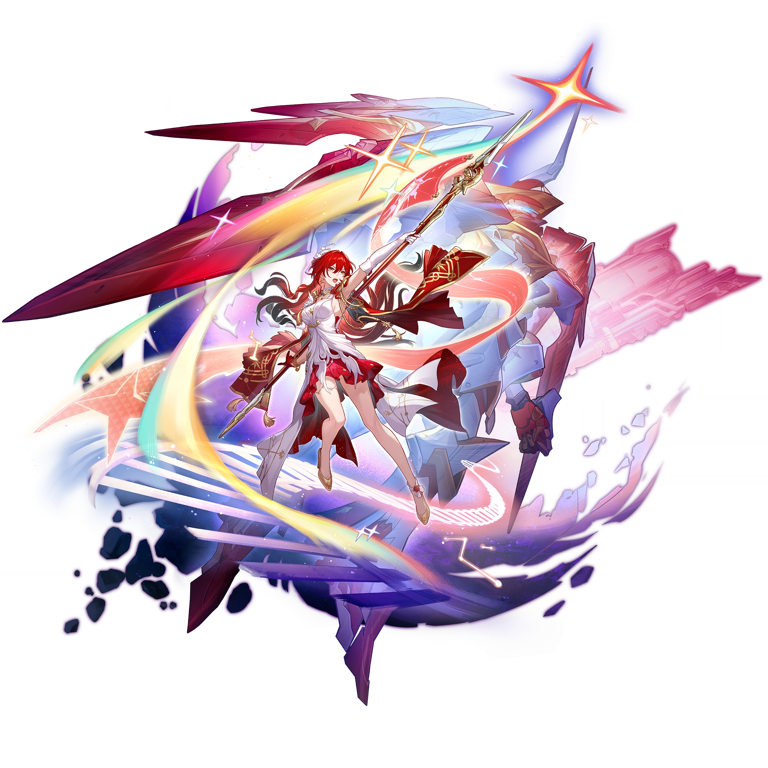
Banner Features & Core Role
The Himeko • Nova Warp banner lasts throughout the entire Version 4.4, unaffected by Phase 1/Phase 2 banner shifts. Trailblazers have plenty of time to hoard Stellar Jades and plan pull schedules without fear of missing out. As a Fire Erudition main DPS, her core mechanic is the Assist Skill—triggering bonus assist attacks whenever allies act. Focused on AoE mob clearing, she excels in Pure Fiction and Simulated Universe, serving as the core carry for the Express Family team (Sunday, Welt, Himeko).
Eidolon Pull Advice (By Target)
E0 (Baseline): Fully unlocks Assist Skill, Ultimate, and core kit mechanics for standard AoE clearing. F2P players can stop here, pairing her with 4-star Light Cone Eyes of the Prey for smooth performance. Drawback: average rotation efficiency and lower assist trigger frequency.
E1 (Key QoL Node): Grants +1 Assist Skill count, significantly lowering Ultimate and Break energy thresholds. Increases rotation efficiency by ~30% and DMG by ~20%, drastically improving gameplay feel. If budget allows 2 golds, prioritize Signature Light Cone; if Stellar Jades are plentiful, get E1 first then Signature Light Cone.
E2 (Major Game-Changer): Massively increases Assist Skill usage caps and multipliers while loosening team building restrictions—allowing non-Express allies to trigger extra turns. Yields ~1.8x DMG compared to E0. Essential for players aiming for top-tier Express team performance.
E4 / E6 (Whale Nodes): E4 provides teamwide RES PEN for supportive utility; E6 tremendously amplifies Assist Skill DMG. Recommended only for whales or dedicated collectors.
Conclusion
The core pull strategy for Version 4.4 Phase 2 is "Prioritize Synergies, Pull Wisely". The rerun characters Cerydra and Anaxa are heavily tied to specific team archetypes—pulling them without proper team enablers yields low cost-efficiency. Perfect your team roster first before aiming for Eidolon upgrades. Aventurine is strictly for fans, while meta players can skip. As a version-wide banner, SP Himeko offers ample pull time: F2P can settle at E0, light spenders at E1S1, and min-maxers can go for E2S1 graduation.
Remember: "Waifu/Husbando > Meta". Plan your Stellar Jades rationally, avoid blind spending, and enjoy the game!
Follow Keygold for more Honkai: Star Rail news, guides, and updates!
FAQ
Q1: Can Cerydra be used with main DPS characters other than Baie?
A: She can be fielded, but her effectiveness drops significantly. Cerydra's primary value lies in duplicating Skills and boosting Skill DMG. For characters relying on Ultimates or Follow-up attacks, her buffs are mostly wasted compared to universal supports like Cilian or Robin. Her best partners remain Baie and Anaxa.
Q2: Is E0 Anaxa playable? What if I don't have his ideal supports?
A: E0 Anaxa is fully playable, but his output ceiling is modest—suitable mainly for simple single-target fights rather than heavy AoE or high-difficulty bosses. Without Cerydra or Cilian, you can pair him with Welt or Tingyun for energy and DMG buffs, but performance will be visibly lower. It is recommended to secure key supports first before pulling Anaxa.
Q3: Can I still pull Himeko • Nova? What is her pull priority?
A: Yes! Himeko • Nova is available throughout the entirety of Version 4.4, unaffected by banner phase swaps. Recommended pull priority: F2P E0S0 → Light Spenders E1S1 → Whales E2S1. Trying to force E2 without her Signature Light Cone isn't recommended, as missing her Light Cone can feel clunky.
Q4: Is Aventurine worth pulling right now?
A: Aventurine's main advantage is pure shield security and follow-up counter DMG, making him great for shield-heavy needs. However, Huohuo (healing + energy regen) and Dan Heng • Permansor (sustain + offensive utility) offer stronger overall team value. From a meta perspective, Aventurine is not a must-pull—fans may also keep an eye out for SP Aventurine arriving in future updates.