【鳴潮 3.4 X 賽博朋克連動】露西 & 麗貝卡全維度養成指南
 陈宥澄
陈宥澄


鳴潮 3.4 連動版本正式上線露西(限定五星衍射主 C)與麗貝卡(版本活動免費送五星導電輔 C)雙人綁定角色。這對組合的核心在於獨創的「二人轉交替切人」連動輸出機制,二者的技能延奏互相鎖死,在機制上無法拆分單走。
本篇攻略將從養成素材、聲骸出裝、武器選擇、隊伍搭配四大維度完整梳理,全面覆蓋平民與氪金兩套養成方案。
一、 角色基礎定位
| 角色 | 屬性 | 定位 | 獲取途徑 | 關鍵養成要點 |
|---|---|---|---|---|
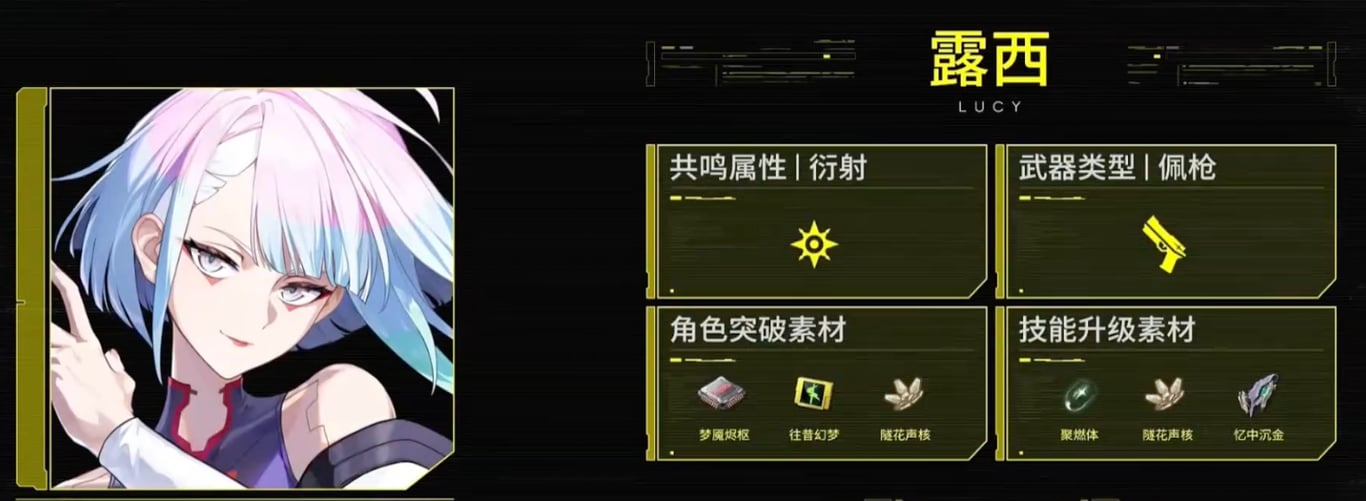
| 露西 | 衍射 | 限定主 C,重擊爆發 + 駭破體系遠程輸出,高度依賴麗貝卡被動增傷 | 3.4 一期連動限定角色活動喚取 | 1 命優化循環,2 命解鎖完整爆發;無專屬武器時輸出約下跌 30%。 |
| 麗貝卡 | 導電 | 全隊攻擊拐 + 後台副 C,機槍被動疊加高額重擊增傷,核心連動掛件 | 3.4 版本限時活動免費領取(0 命) | 0 命機制即完整,2 命解鎖全隊全傷害加成質變,平民無需刻意補命座。 |
• 機制核心: 露西的延奏技能只能由麗貝卡觸發,而麗貝卡的被動增傷也僅有露西能全額享受,兩者屬於強綁定組合。由於是異色(衍射 + 導電)組隊,挑戰深塔時會同時面臨雙屬性抗性的 debuff 限制,純追求強度的玩家不建議強行綁定深塔高難攻堅。
二、 滿級養成資源彙整表(突破 + 技能全拉滿)
素材來源:3.4 全新區域 BOSS「夢魘亞當」、週本「達妮婭」、地圖野外採集,玩家可提前囤貨備戰。
1、 露西(五星限定)
| 素材類別 | 素材名稱 | 獲取途徑 |
|---|---|---|
| 角色突破 | 貝殼幣 / 夢魘核心 / 採集物 / BOSS 素材 | 夢魘亞當 / 野外採集 |
| 技能升級 | 聲之旋律系列 / 週本素材 / 怪物掉落物 | 達妮婭 / 副本挑戰 |
2、 麗貝卡(免費五星)
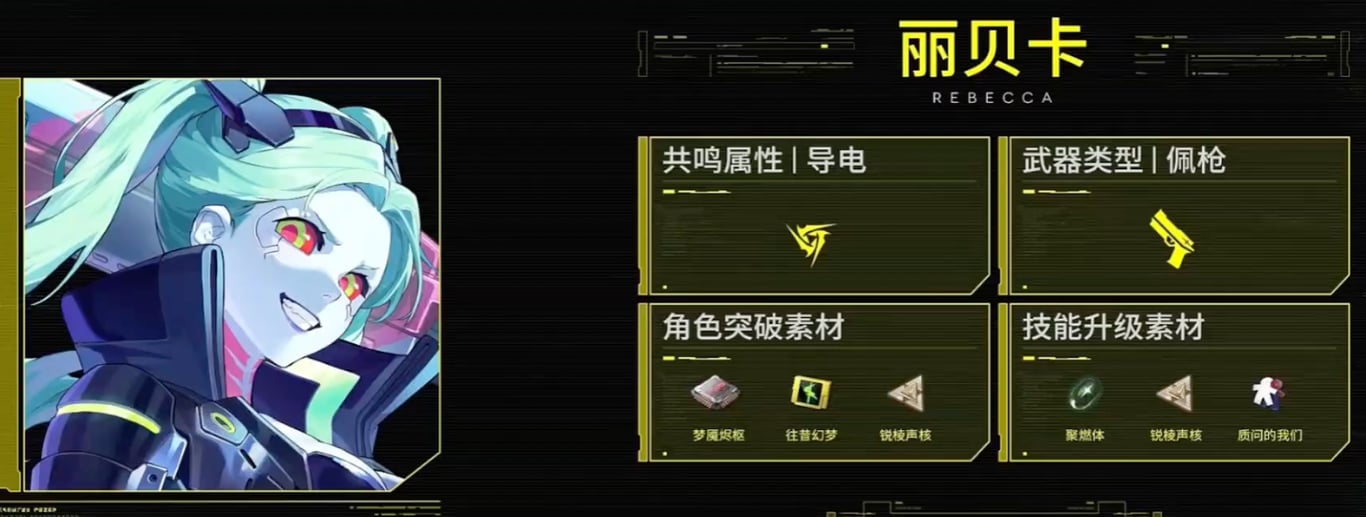
| 素材類別 | 素材名稱 | 獲取途徑 |
|---|---|---|
| 角色突破 | 貝殼幣 / 電磁元件 / 採集物 / BOSS 素材 | 夢魘亞當 / 野外採集 |
| 技能升級 | 聲之旋律系列 / 週本素材 / 怪物掉落物 | 達妮婭 / 副本挑戰 |
三、 聲骸搭配推薦表
兩者的核心聲骸首位(COST 4)固定裝配【夢魘亞當】,裝配後可直接為露西或麗貝卡提供 +15% 暴擊率的連動專屬加成。
| 畢業套裝(1+2+2) | 聲骸主詞條選擇 | 副詞條優先度 | 適用玩家 |
|---|---|---|---|
|
夢魘亞當 + 不絕餘音 2 件套 + 剪心 2 件套 |
4C:暴擊率 / 暴擊傷害 3C:屬性傷害(露西 = 衍射、麗貝卡 = 導電) 剩餘 3C/1C:皆選擇百分比攻擊力 % |
雙暴 > 百分比攻擊 > 重擊傷害 > 共鳴效率(建議堆到 120%) | 氪金黨或資源充足、追求極致傷害的玩家畢業首選 |
四、 武器梯度推薦清單
1、 露西(衍射手槍・主 C)
| 梯度 | 武器名稱 | 品級 | 適配說明 |
|---|---|---|---|
| 畢業專武 |
 蜃影
蜃影
|
五星限定武器 | 重擊無視敵方防禦,且在目標附加【駭破】狀態後提供高額重擊增傷,完美契合露西的重擊輸出機制。 |
| 五星平替 |
 死與舞
死與舞
|
五星常駐武器 | 提供高額共鳴效率與屬性增傷,為無專武時的最優下位替代,差距控制在 15% 以內。 |
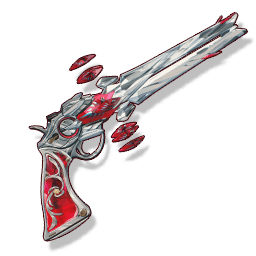
2、 麗貝卡(導電手槍・輔拐)
| 梯度 | 武器名稱 | 品級 | 適配說明 |
|---|---|---|---|
| T0 畢業專武 |
 碎骨
碎骨
|
連動五星武器 | 賦予全隊大額攻擊力 buff,同時將普攻增傷拉滿,屬於功能性極強的輔助天花板。 |
| T1 五星平替 |
 溢彩熒輝
溢彩熒輝
|
五星角色專武 | 琳奈的專屬武器,其拐力可達到連動專武的 90% 左右,是最佳的五星替代選擇。 |
五、 實戰配隊與輸出循環
1、 連動二人綁定隊

-
陣容組合: 露西 + 麗貝卡 + 守岸人(或 維里奈)
- 守岸人: 提供長軸暴擊拐與全隊續航,完美適配 25 秒的完整輸出軸。
- 維里奈: 萬用增傷奶媽,平民玩家的低成本替代首選。
- 核心打法: 圍繞「二人轉」展開。麗貝卡施放 E 技能為全隊掛上攻擊 buff ➔ 切換露西開啟共鳴解放與重擊輸出 ➔ 切回麗貝卡續接被動機槍以疊加重擊增傷,如此循環往復。
2、 實戰輸出循環軸
FAQ 常見問題
Q1 星聲資源緊張,露西到底要不要抽?麗貝卡需要補命座嗎?
強度黨建議直接放棄抽取露西,將資源留給 3.5 版本的秧秧 SP與心月狐;廚力黨則按需抽取。麗貝卡透過活動白嫖的 0 命在機制上已經足夠完整,2 命雖能提升全隊傷害,但平民玩家不建議額外投入星聲去補命座。
Q2 露西和麗貝卡能不能拆開單走,各自獨立組隊?
極不建議。兩者的核心機制高度綁定,露西關鍵的延奏技能必須由麗貝卡觸發,一旦拆分,角色的整體輸出虧損將高達 40% 以上。不過,麗貝卡在極端情況下可單獨進入其他導電隊伍擔任純輔助。


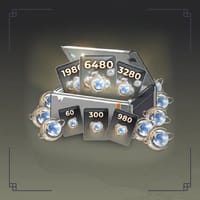
- 6480+1600 月相 限定優惠$71.99-$28$99.99
- 月相全套方案$164.82-$36.12$200.94
- 寰宇頻道$7.39-$2.6$9.99
- 寰宇特約$14.78-$5.21$19.99
- 月相觀測卡$3.69-$1.3$4.99
- 60 月相$0.73-$0.26$0.99
- 300+30 月相$3.69-$1.3$4.99
- 980+110 月相$11.08-$3.91$14.99
- 1980+260 月相$22.18-$7.81$29.99
- 3280+600 月相$36.97-$13.02$49.99
- 6480+1600 月相$76.99-$23$99.99
- 6480+1600 月相*3$250.97-$49$299.97
- 6480+1600 月相*5$424.96-$74.99$499.95
- 6480+1600 月相*10$859.91-$139.99$999.9
- 每週訂閱$7.39-$2.6$9.99
- 若以月爲因$7.39-$2.6$9.99
- 眺望境界之線$7.39-$2.6$9.99
- 遠航星車架套裝$18.48-$6.51$24.99