❄️ Wuthering Waves 3.0 Strategy Guide: Mastering the Hyvatia Boss Fight
 Finley Davis


In Version 3.0, a formidable new World Boss, Hyvatia, awaits Rovers in the frozen wastes of Lahai-Roi. This mechanical angel is not only the key to ascending new Resonators (like Lynae) but also drops the powerful new Hyvatia Echo.
This guide covers her exact location, drop list, and a detailed breakdown of her attack patterns based on Phase 1 and Phase 2 mechanics.
? Location & Drops
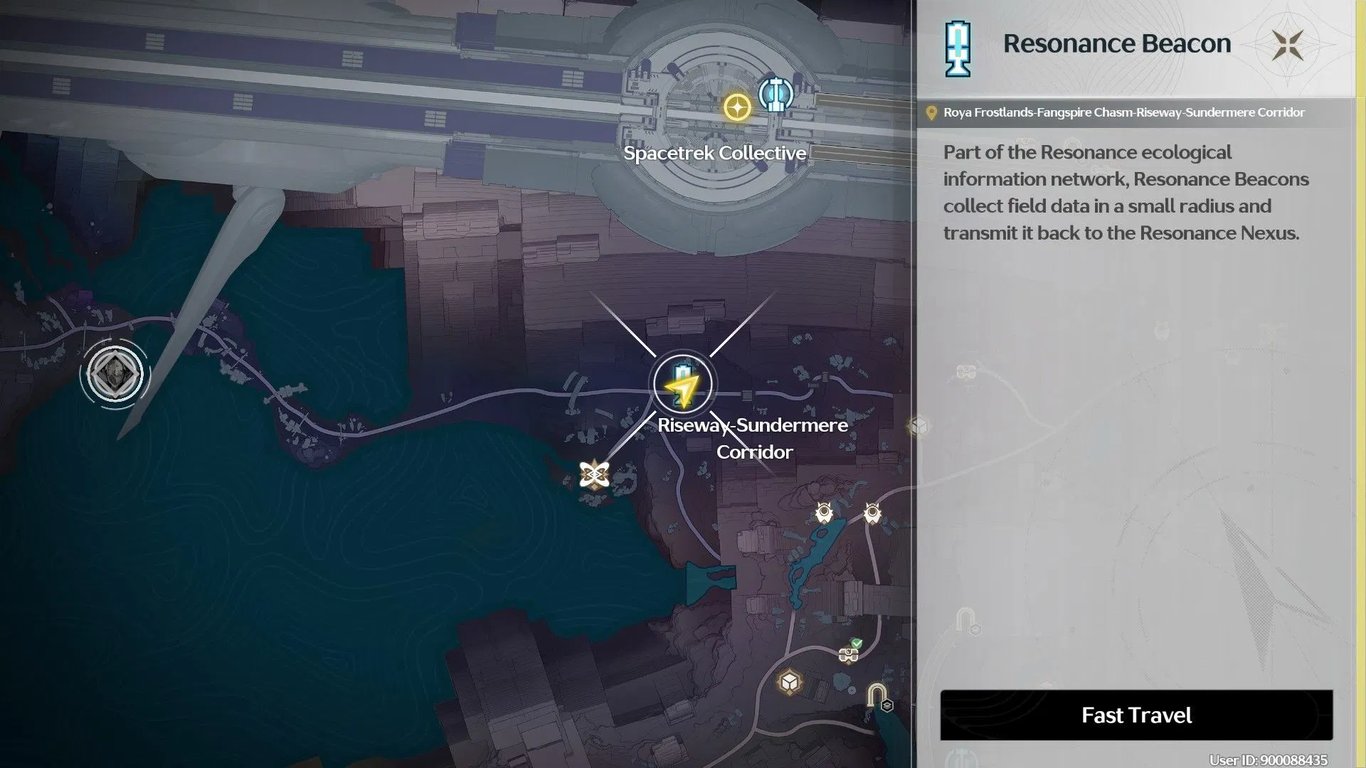
- Location: Lahai-Roi Region. Head to the Spacetrek Collective (Transport Vertebrae) area. The boss arena is located to the bottom-right (Southeast) of Swordfall Lake. (Tip: Use the Riseway - Sundermere Corridor Waypoint for fast access.)
- Boss Drops:
• Ascension Material: Sunseeker's Fingertip (Essential for 3.0 characters).
• Echo: Hyvatia.
• Resources: Advanced Resonance Potion, Advanced Energy Core, Advanced Sealed Tube, Shell Credits, and Intimacy.
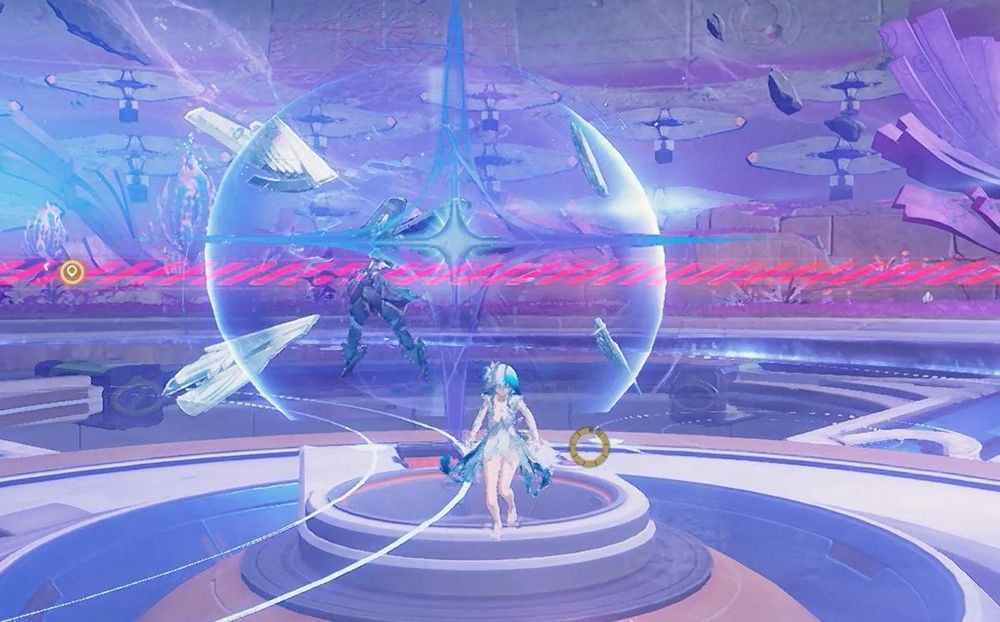
⚠️ Core Mechanic: Future Vision
Crucial Combat Rule:
When Hyvatia activates "Future Vision", be extremely careful.
Do not use Dodge or Intro Skills (Counter Attacks) blindly during this state. If you do, Hyvatia will "record" your movements and punish you. It is often better to use positioning (running/walking) to avoid damage rather than relying on i-frames during this specific window.
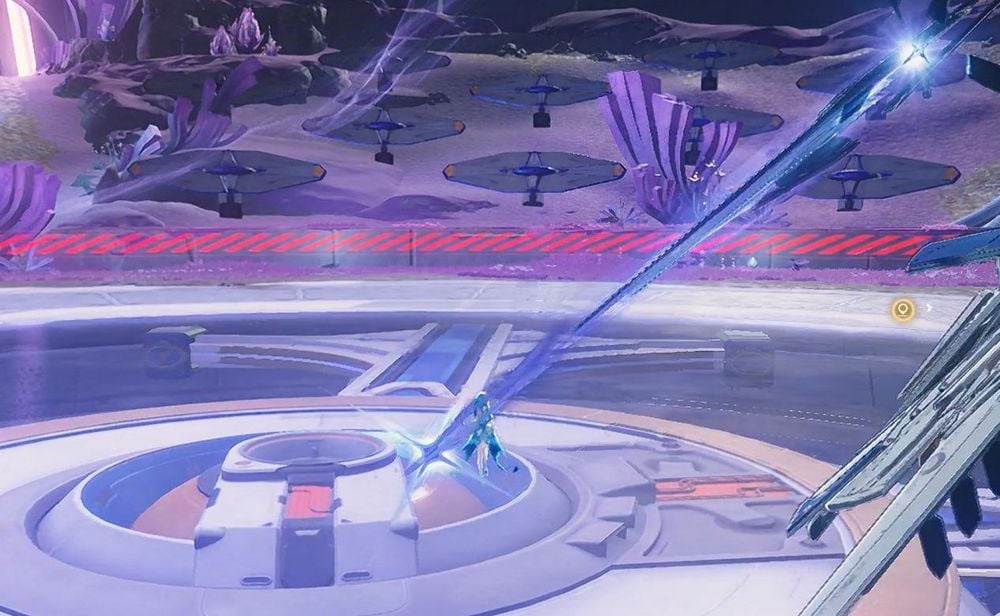
⚔️ Phase 1: Aerial & Ground Assault
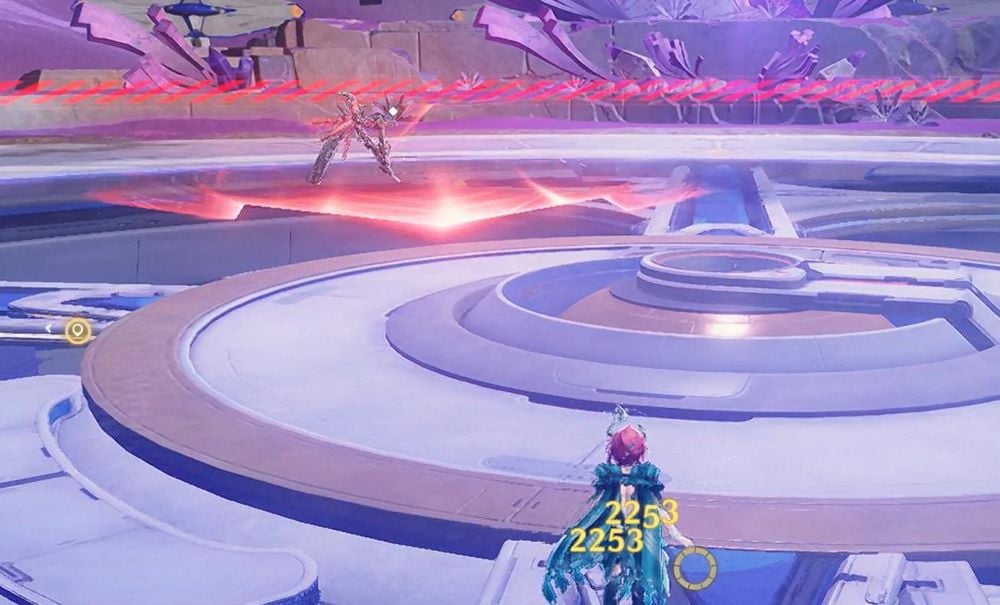
Upon entering the fight, Hyvatia mixes aerial lasers with swift melee strikes.
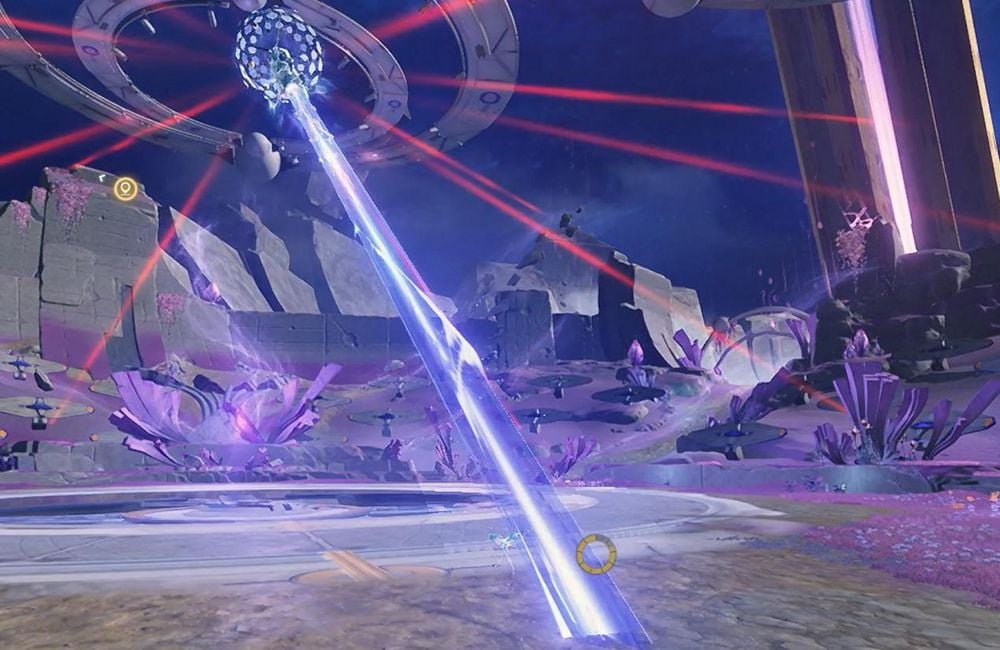
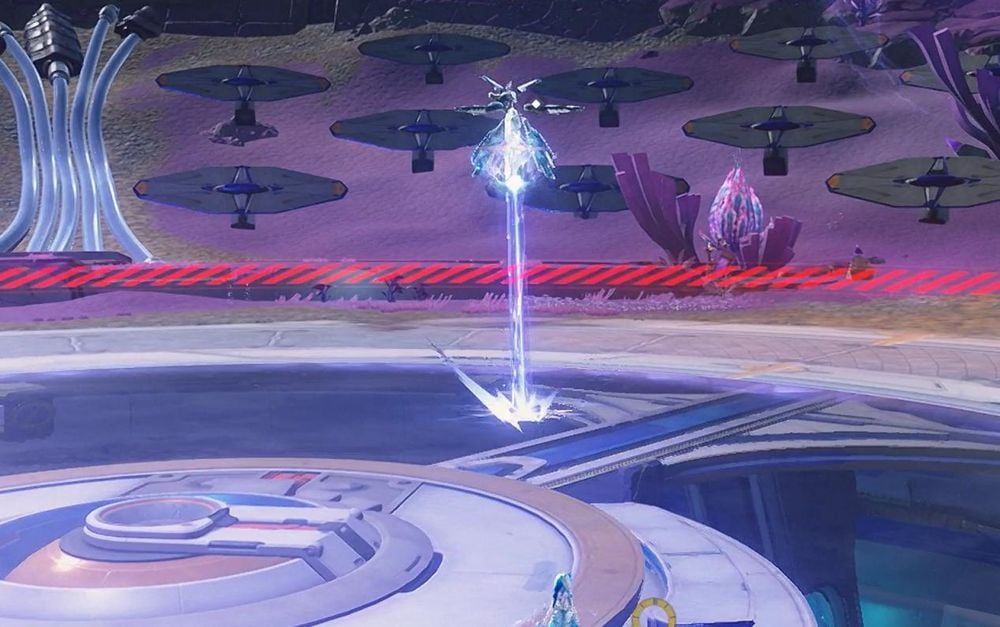
1. Opening Laser Strike
- The Move: Upon entering her range, Hyvatia hovers and fires a laser to knock you back.
- Counter: Dodge or sprint sideways immediately.
- Note: If you retreat out of range, she stops attacking. If you push forward into the arena, she will descend and begin her ground phase.
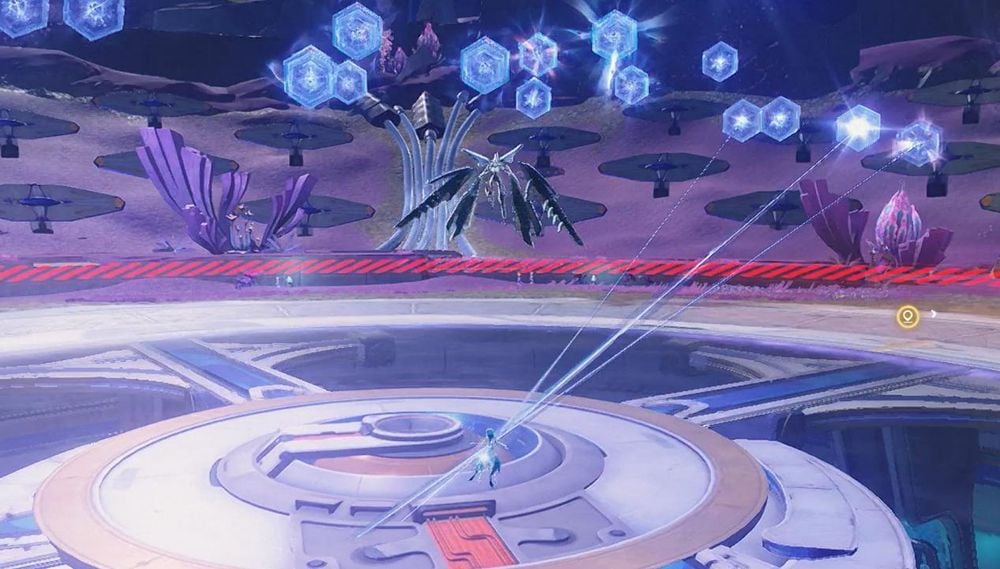
2. Multi-Laser Array
- The Move: She sweeps across the sky, summoning multiple hexagonal portals. These portals fire lasers sequentially at you.
- Counter: Requires continuous dodging in rhythm with the firing sequence.
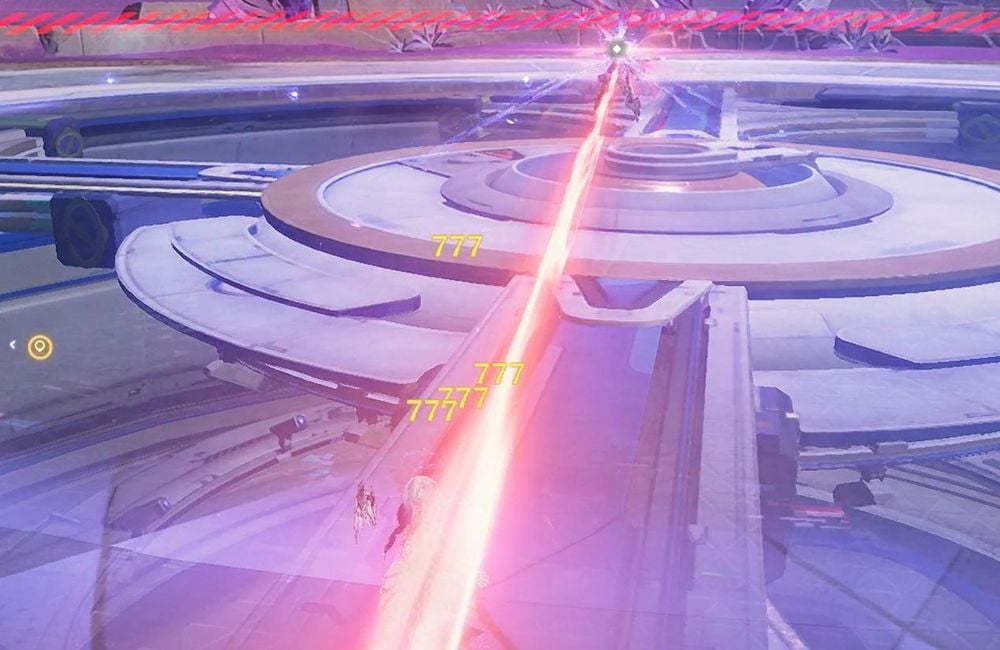
3. Aerial Laser Sweep
- The Move: Hyvatia flies to mid-air and sweeps a laser beam from the inside outwards along a path.
- Counter: Sprint to the far left or right to clear the sweep zone.
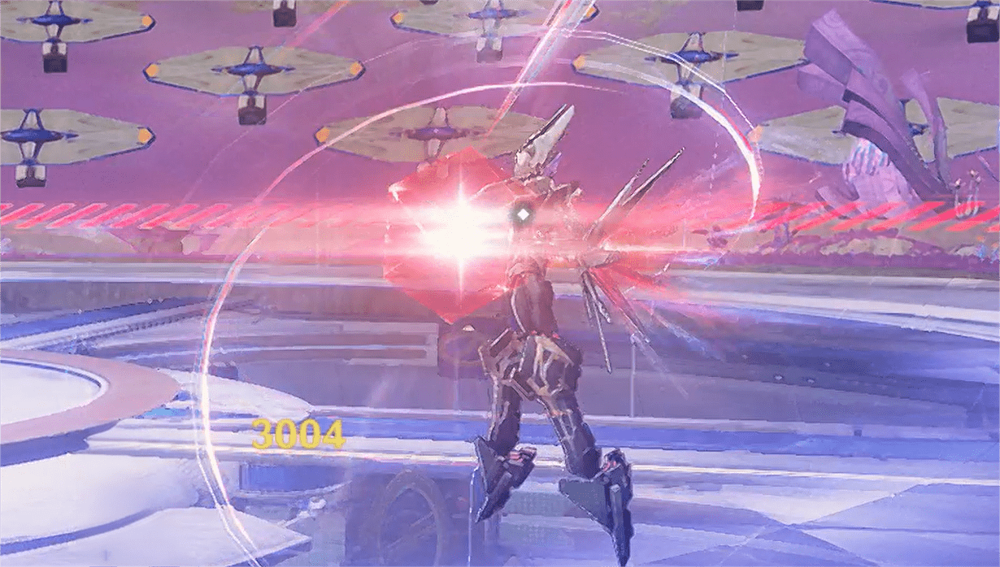
4. Triple Slash & Laser
- The Move: She performs 2 back-and-forth weapon slashes, spins her wings for a 3rd hit, and finishes with a laser shot.
- Counter: Move away to avoid the first 3 melee hits, then dodge sideways to evade the final laser.
5. Quadruple Slash Combo
- The Move: She executes 3 weapon slashes, then spins towards your location for a 4th strike using both her weapon and wings.
- Counter: Keep your distance for the first three, then dodge through the final spinning attack.
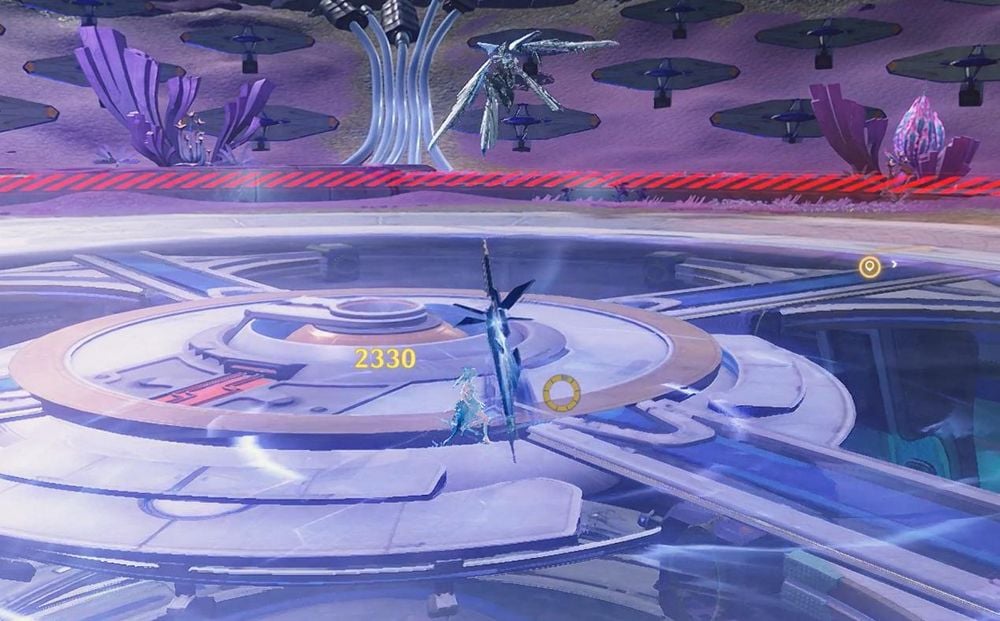
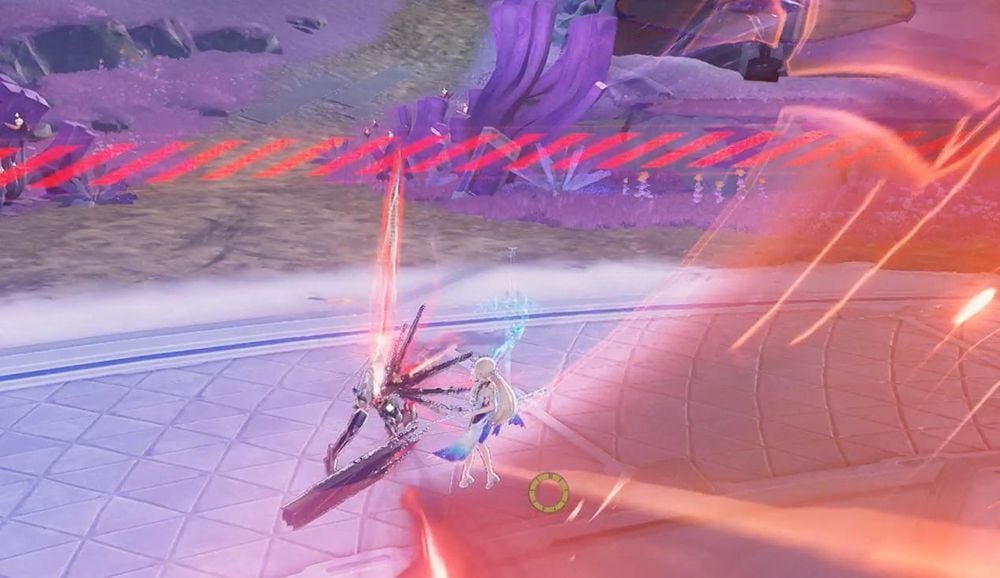
6. Traction Slash (Gravity Pull)
- The Move: A horizontal and vertical slash combo, followed by throwing her weapon. The weapon creates a gravity field that pulls (tracts) you in. She then flies over to reclaim the weapon and slash again.
- Counter: The moment she throws the weapon, sprint away to escape the traction range.
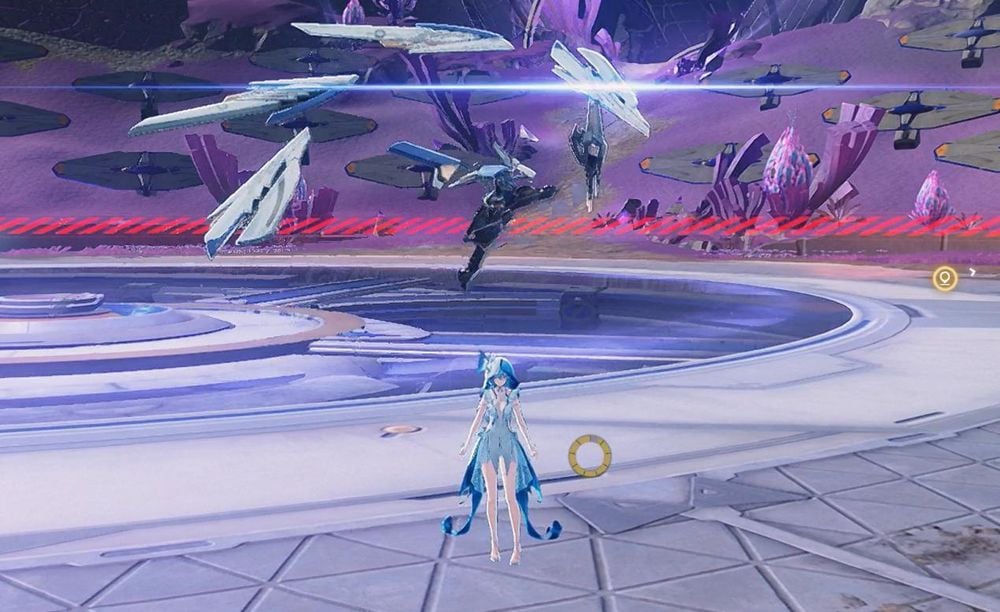
7. Dive Slash
- The Move: A high-speed dive towards your position followed by a slash.
- Counter: A standard timing dodge works best here.
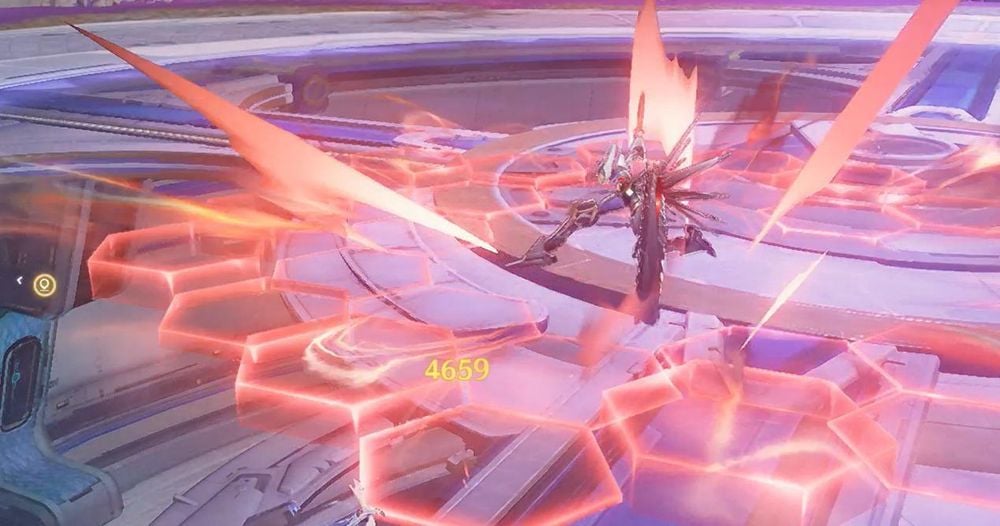
⚔️ Phase 2: Frenzied State
In the second phase, her attacks become more aggressive and include AoE bombardments.
1. Dive Smash
- The Move: She dives towards you with a slash and follows up with a heavy ground smash.
- Counter: Dodge the dive, then immediately dash backward to avoid the smash AoE.
2. Continuous Laser Beam
- The Move: She locks onto you and fires a sustained laser beam.
- Counter: Sprint or dash continuously to the left or right.
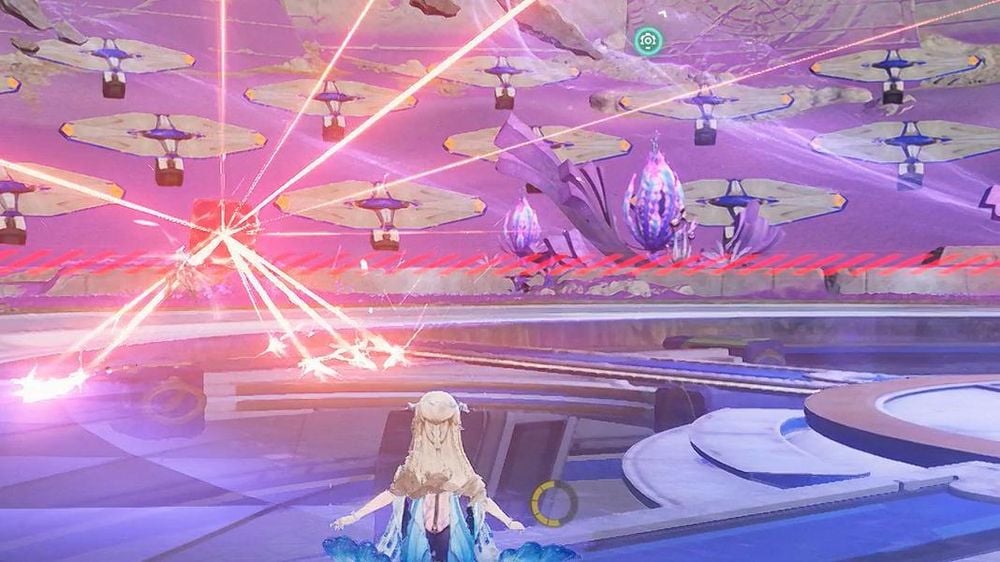
3. Laser Scattering
- The Move: Hyvatia condenses light orbs and scatters multiple laser beams outward.
- Counter: Move further away from the boss. The further you are, the wider the gaps between the lasers, making them easier to step through.
4. Crimson Sword Glint
- The Move: Her surroundings glow red, signaling a rapid 3-hit sword wave combo.
- Counter: Perform three consecutive dodges in rhythm.
5. Slash & Bombardment
- The Move: A 3-hit slash combo ending with a laser cannon blast.
- Counter: Kite away from the slashes and save a dodge for the final cannon shot.
6. Earth-Splitter Combo
- The Move: A relentless series of slashes, ending with a massive sword strike that splits the ground.
- Counter: Keep your distance strictly. The final ground split has a wide range.
Summary
Victory against Hyvatia comes down to patience. Respect the Future Vision mechanic by not spamming dodge, and learn to identify the difference between her Traction Slash (run away!) and her standard melee combos. Good luck hunting for those Sunseeker's Fingertips!


- 6480 + 1600 Lunites Limited Offer$71.99-$28$99.99
- Lunitas All-In-One Bundle$164.82-$36.12$200.94
- Insider Channel$7.39-$2.6$9.99
- Connoisseur Channel$14.78-$5.21$19.99
- Lunite Subscription$3.69-$1.3$4.99
- 60 Lunites$0.73-$0.26$0.99
- 300 Lunitas$3.69-$1.3$4.99
- 980+110 Lunites$11.08-$3.91$14.99
- 1980+260 Lunites$22.18-$7.81$29.99
- 3280+600 Lunites$36.97-$13.02$49.99
- 6480+1600 Lunites$76.99-$23$99.99
- 6480+1600 Lunites*3$250.97-$49$299.97
- 6480+1600 Lunites*5$424.96-$74.99$499.95
- 6480+1600 Lunites*10$859.91-$139.99$999.9
- Weekly Subscription$7.39-$2.6$9.99
- Lunar Causality$7.39-$2.6$9.99
- Horizon Lookout$7.39-$2.6$9.99
- Voyaging Star Chassis Set$18.48-$6.51$24.99